2019 Subaru WRX STI - "OEM+" Build
OEM+-but-not-really
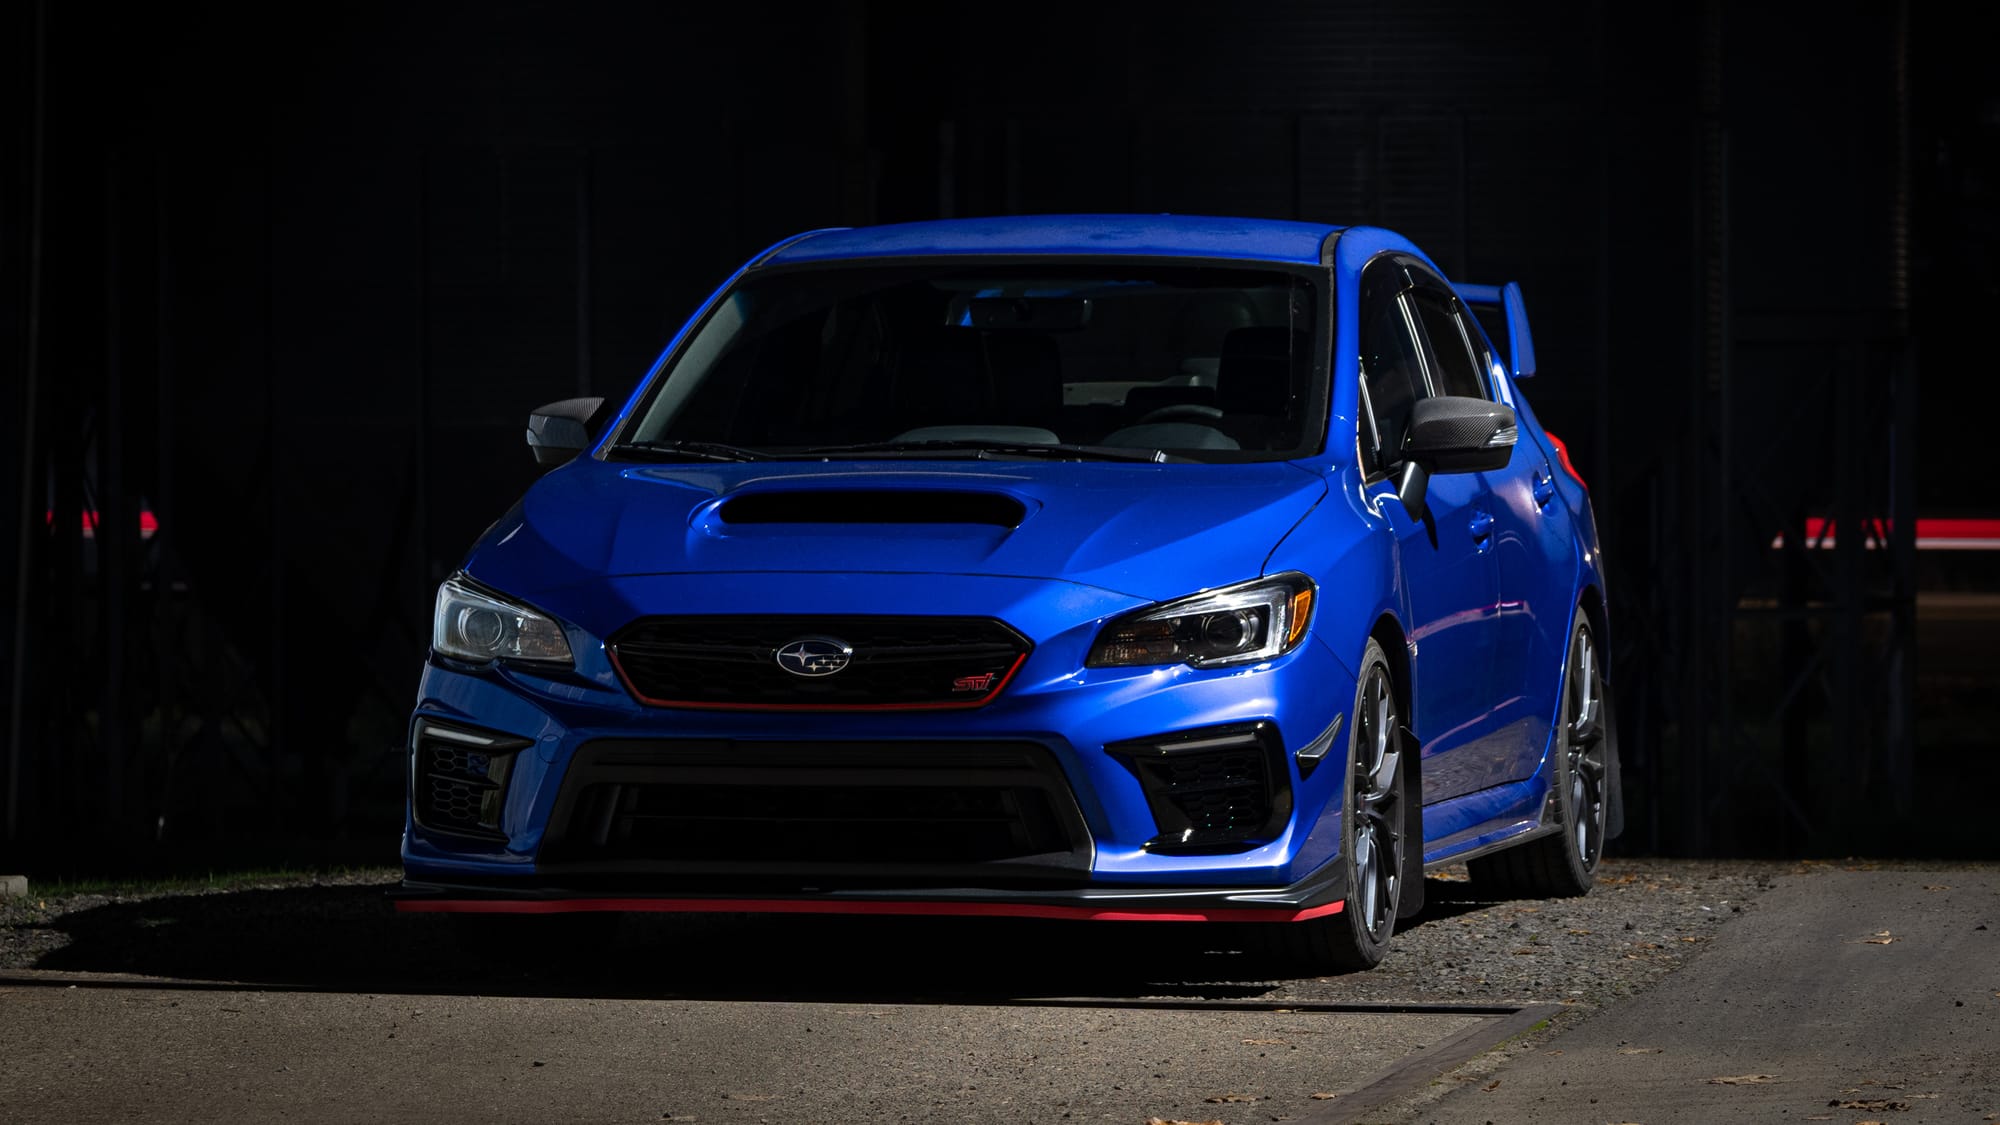
It's like OEM+, but not really!
Background
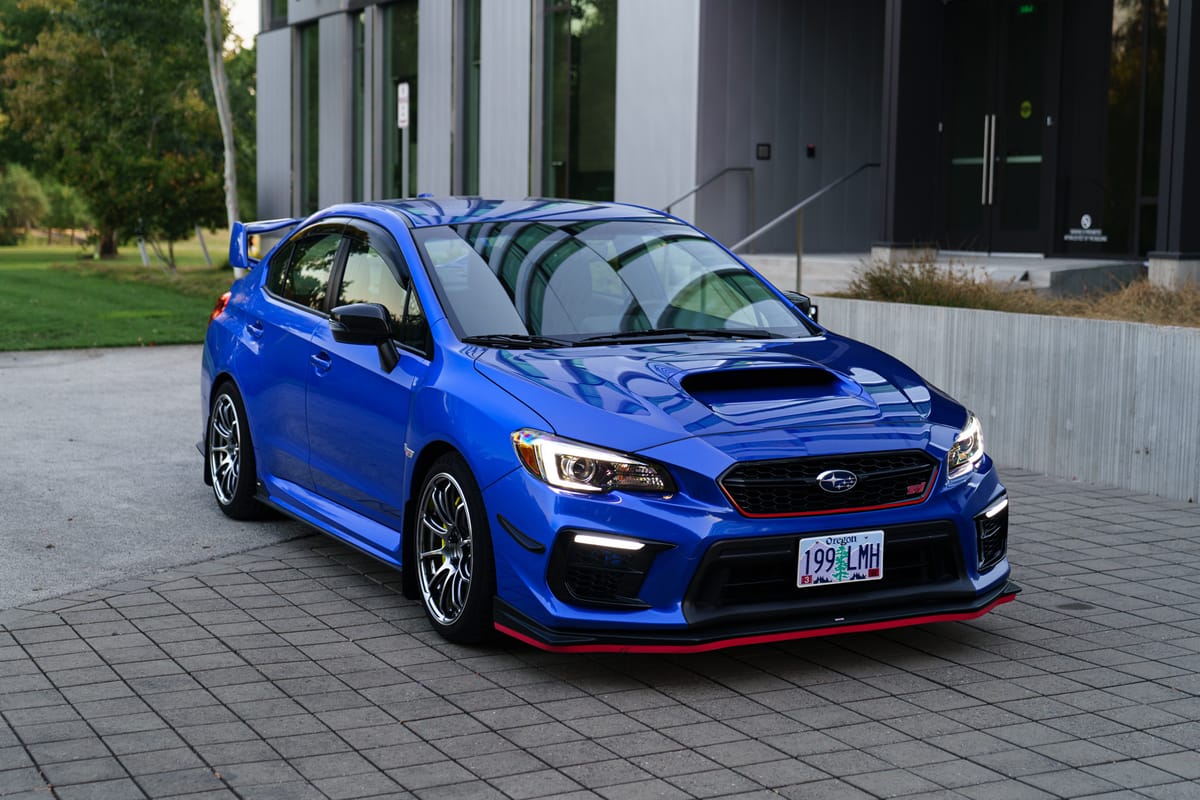
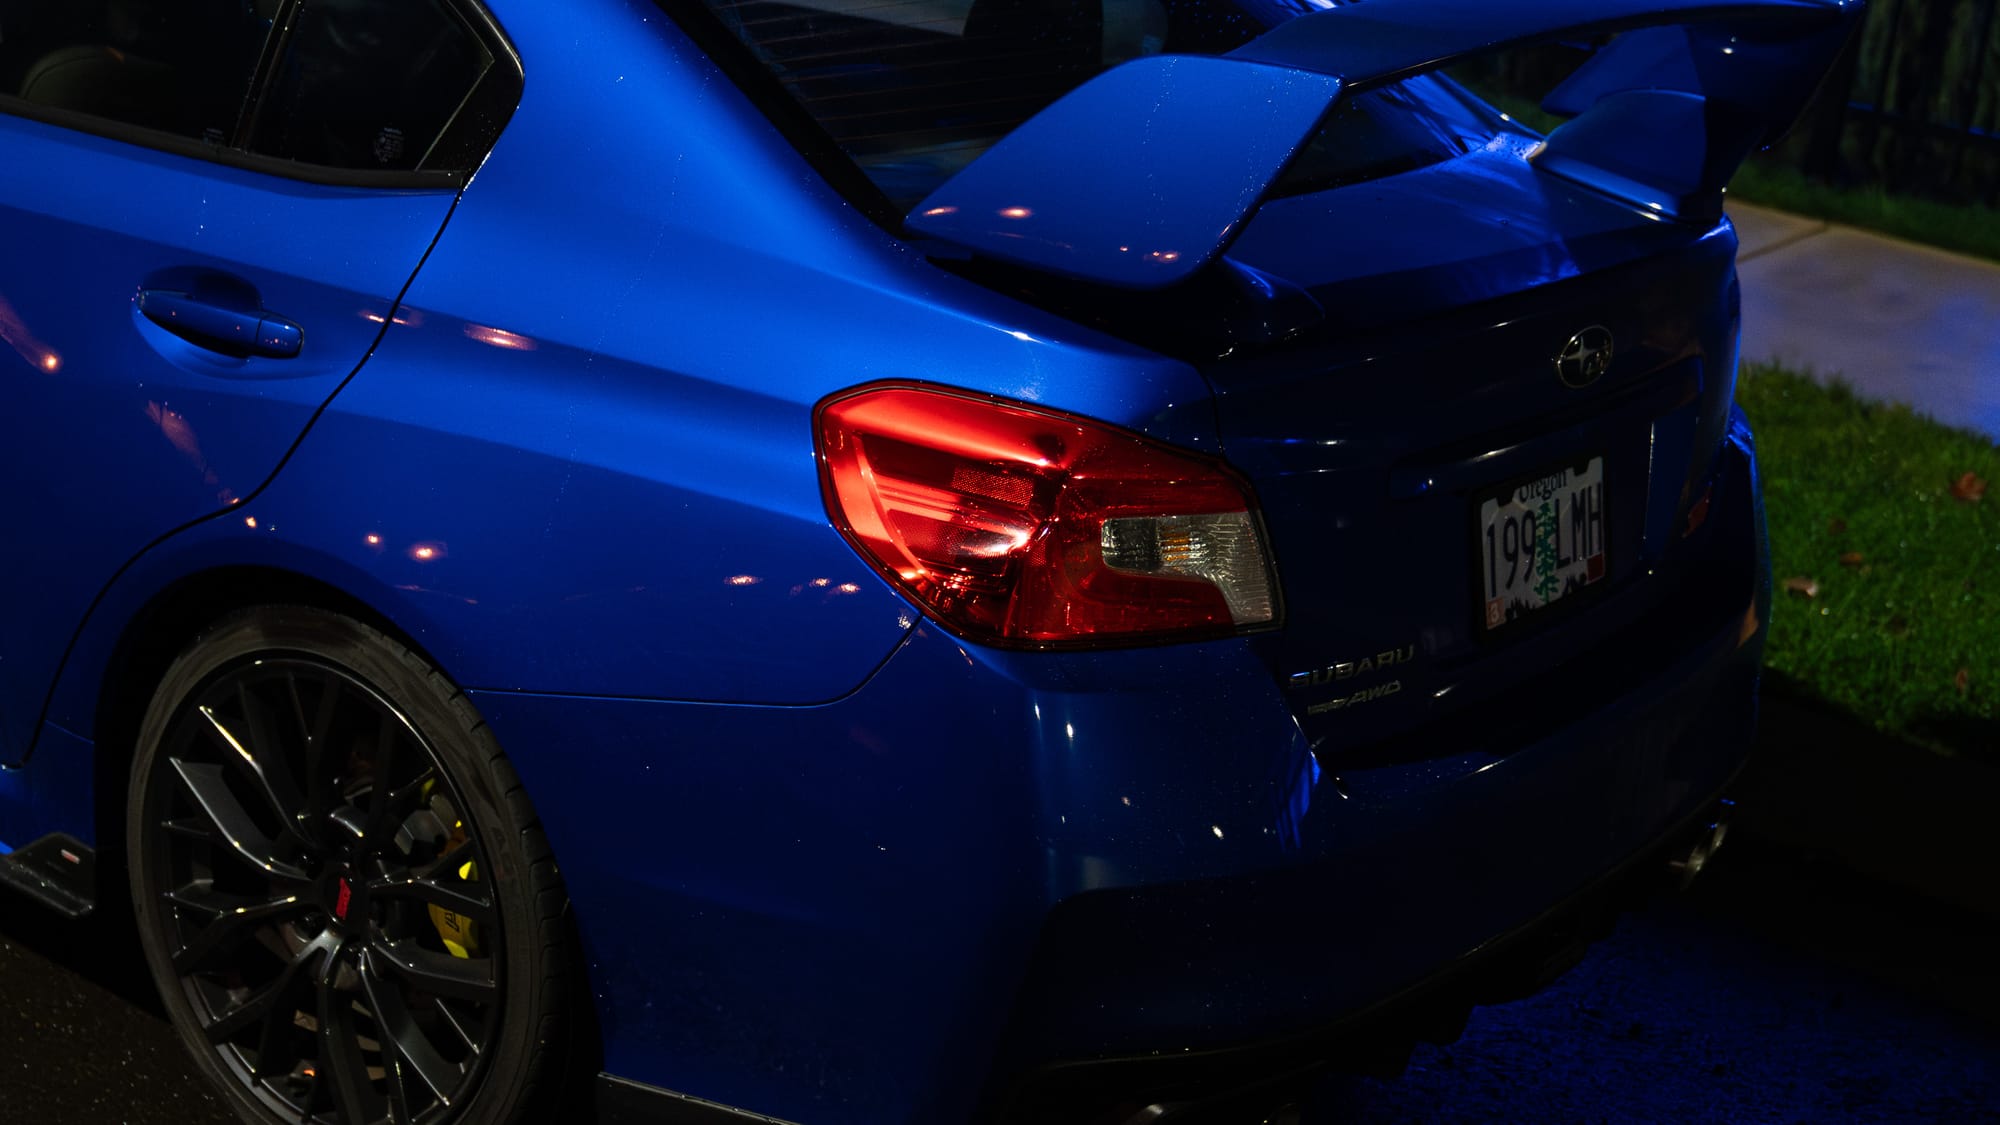
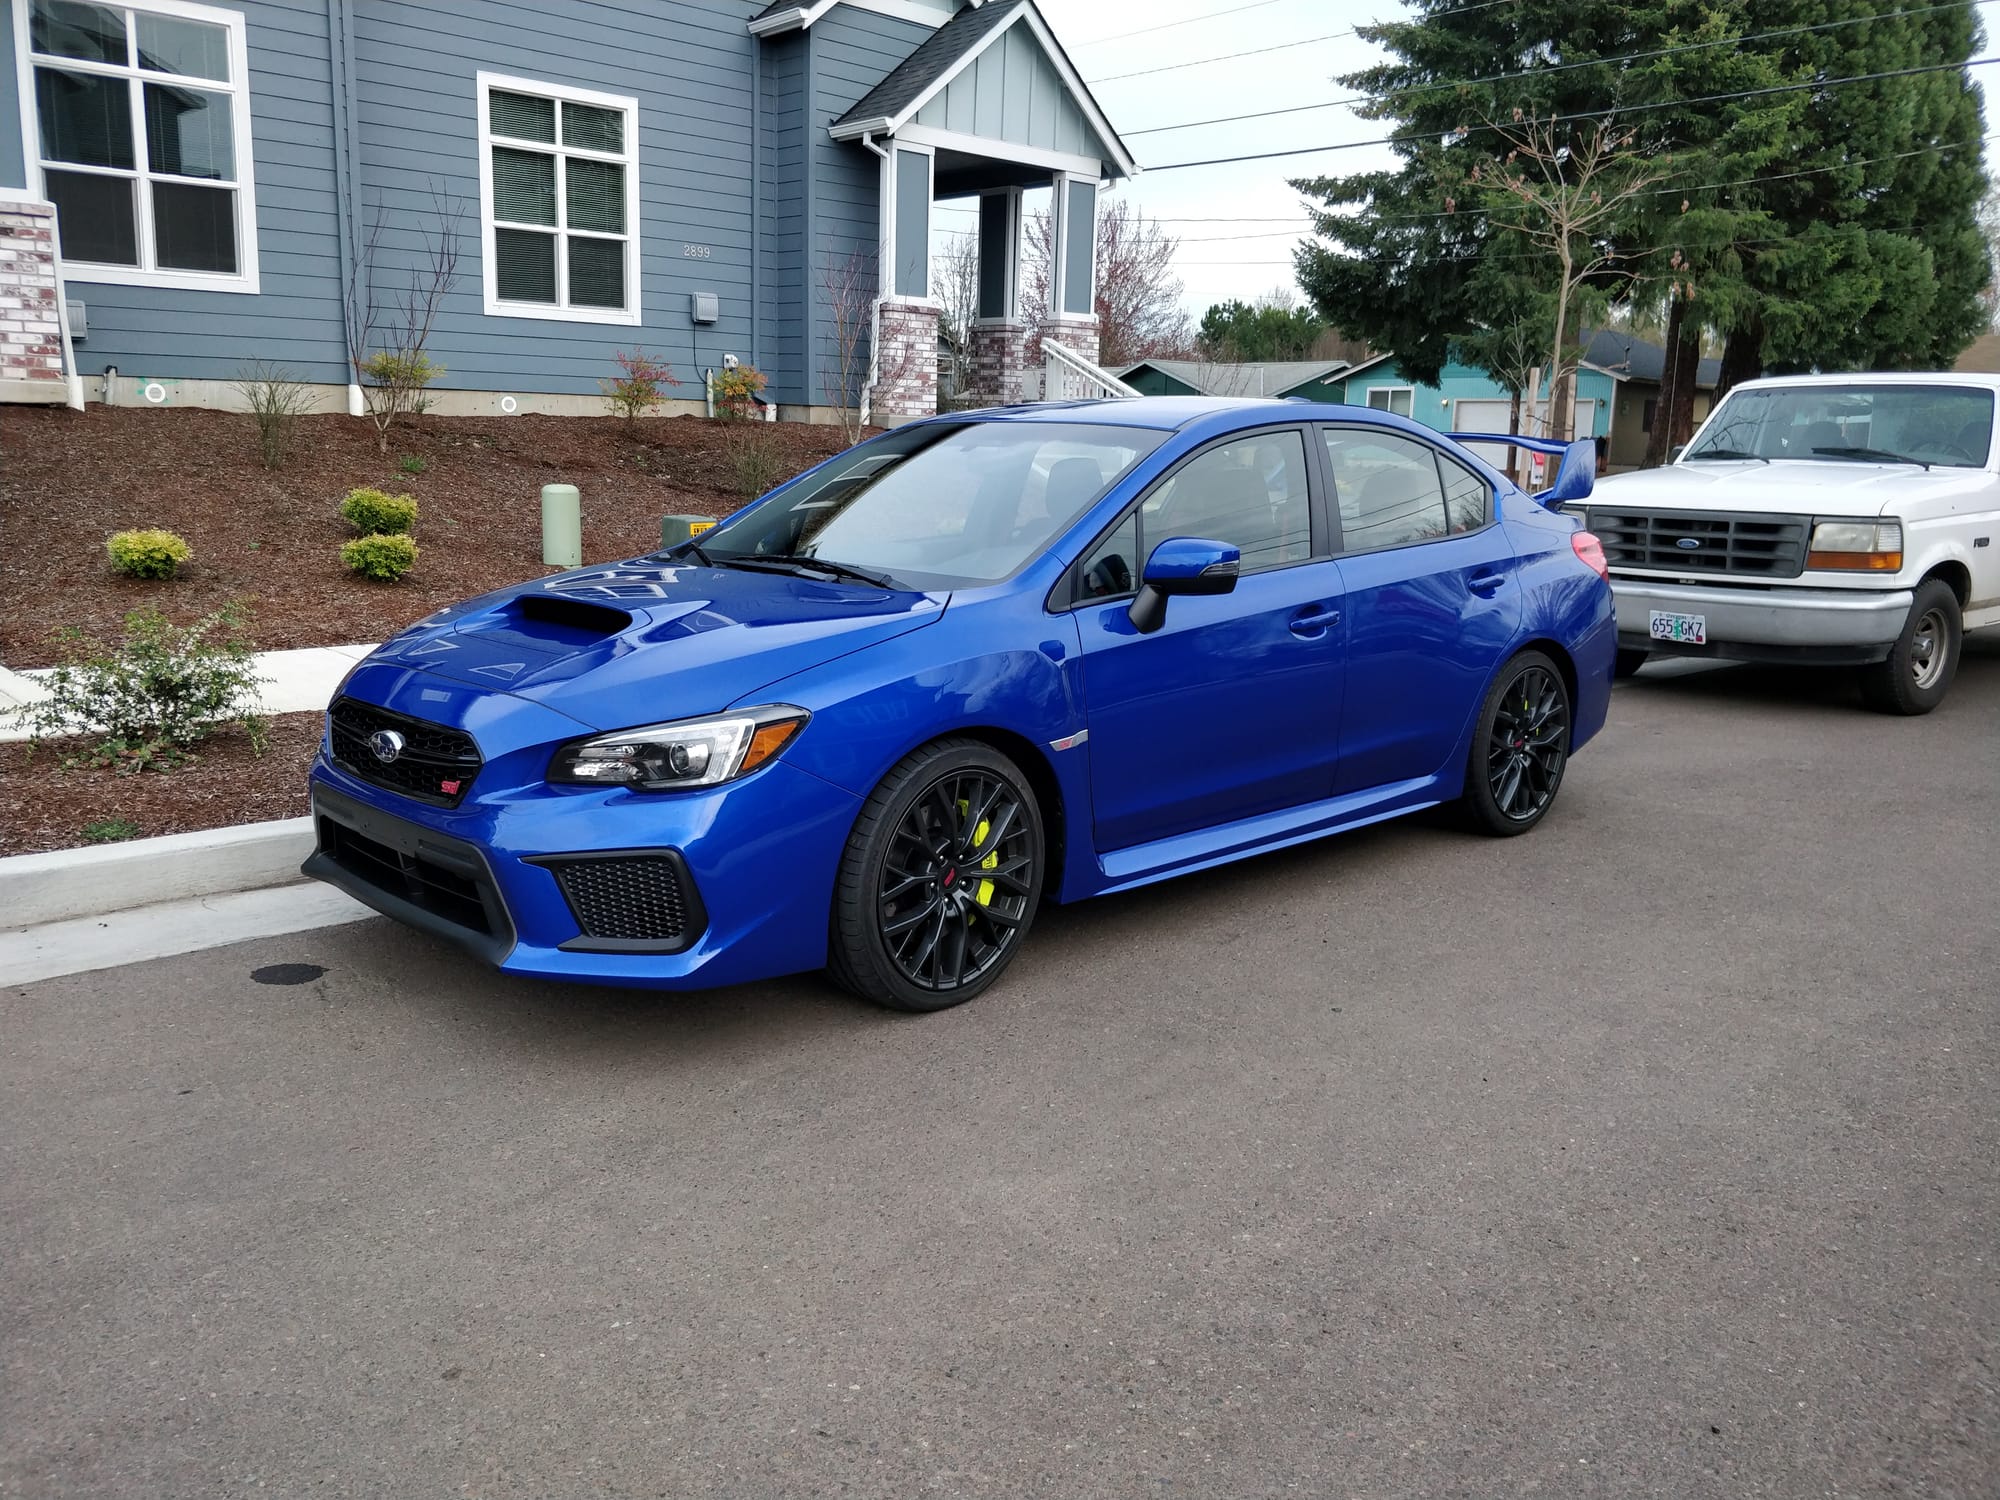
I bought this car new in 2019 and pretty much kept it stock aside from some exterior parts and a tune for 4 years until later this year. I've always felt that while the car is good from the factory, I was always wanting a little more out of it (as we all do). The stock setup with a tune has a nice midrange but falls off towards the top and leaves some to be desired. Anyway, long story short I've always been into cars and I figured I should have at least one modded car in my life. The car has been paid off, warranty is expired, gas engines and sports cars as we know them are on their way out, our compact SUV EV overlords are coming for us all blah blah blah might as well do it now.
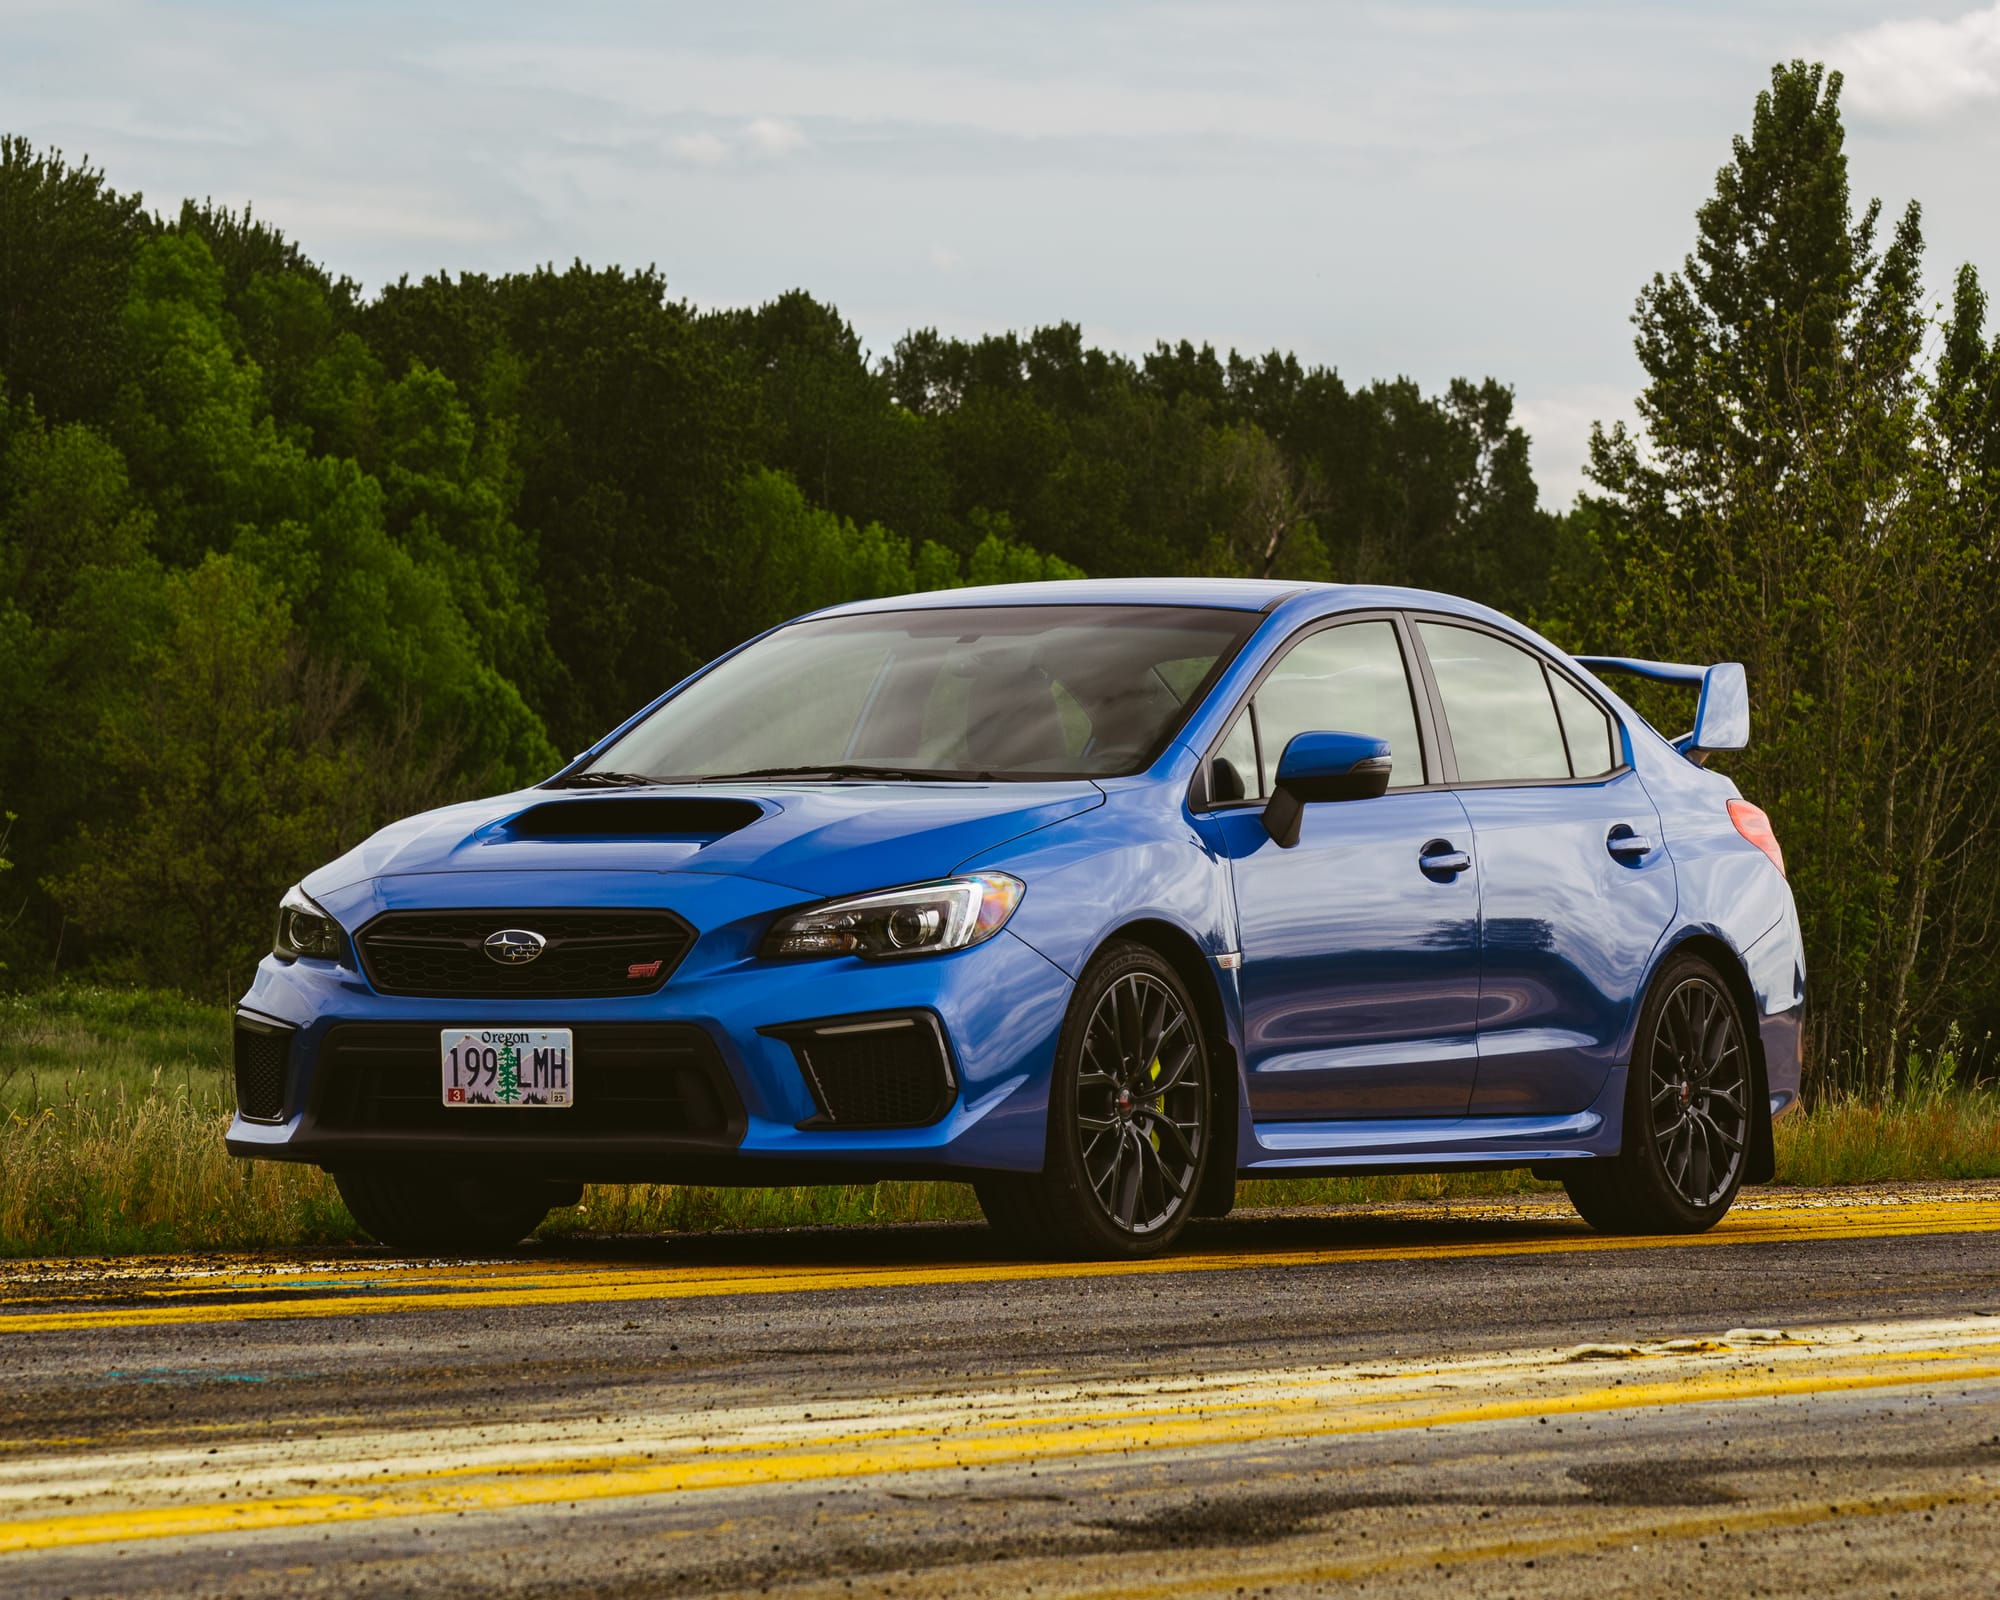
Picture Credit: https://flickr.com/photos/hutchison15/49929036791
Purpose
The STI S209 and previous variants have always interested me and it would be cool to own one of them. Too bad they're unobtainium. So with this build I wanted to create something that is sort of like an S209 but in my own way. It turns out you can buy most, if not all, of the chassis/suspension components that the S209 has from STI in Japan. So I did that minus the struts, springs, and swaybars (TBD). For the exterior I wanted to keep it subtle and not have anything too crazy. To achieve that I opted for mostly OEM/STI exterior parts with a few from the aftermarket.
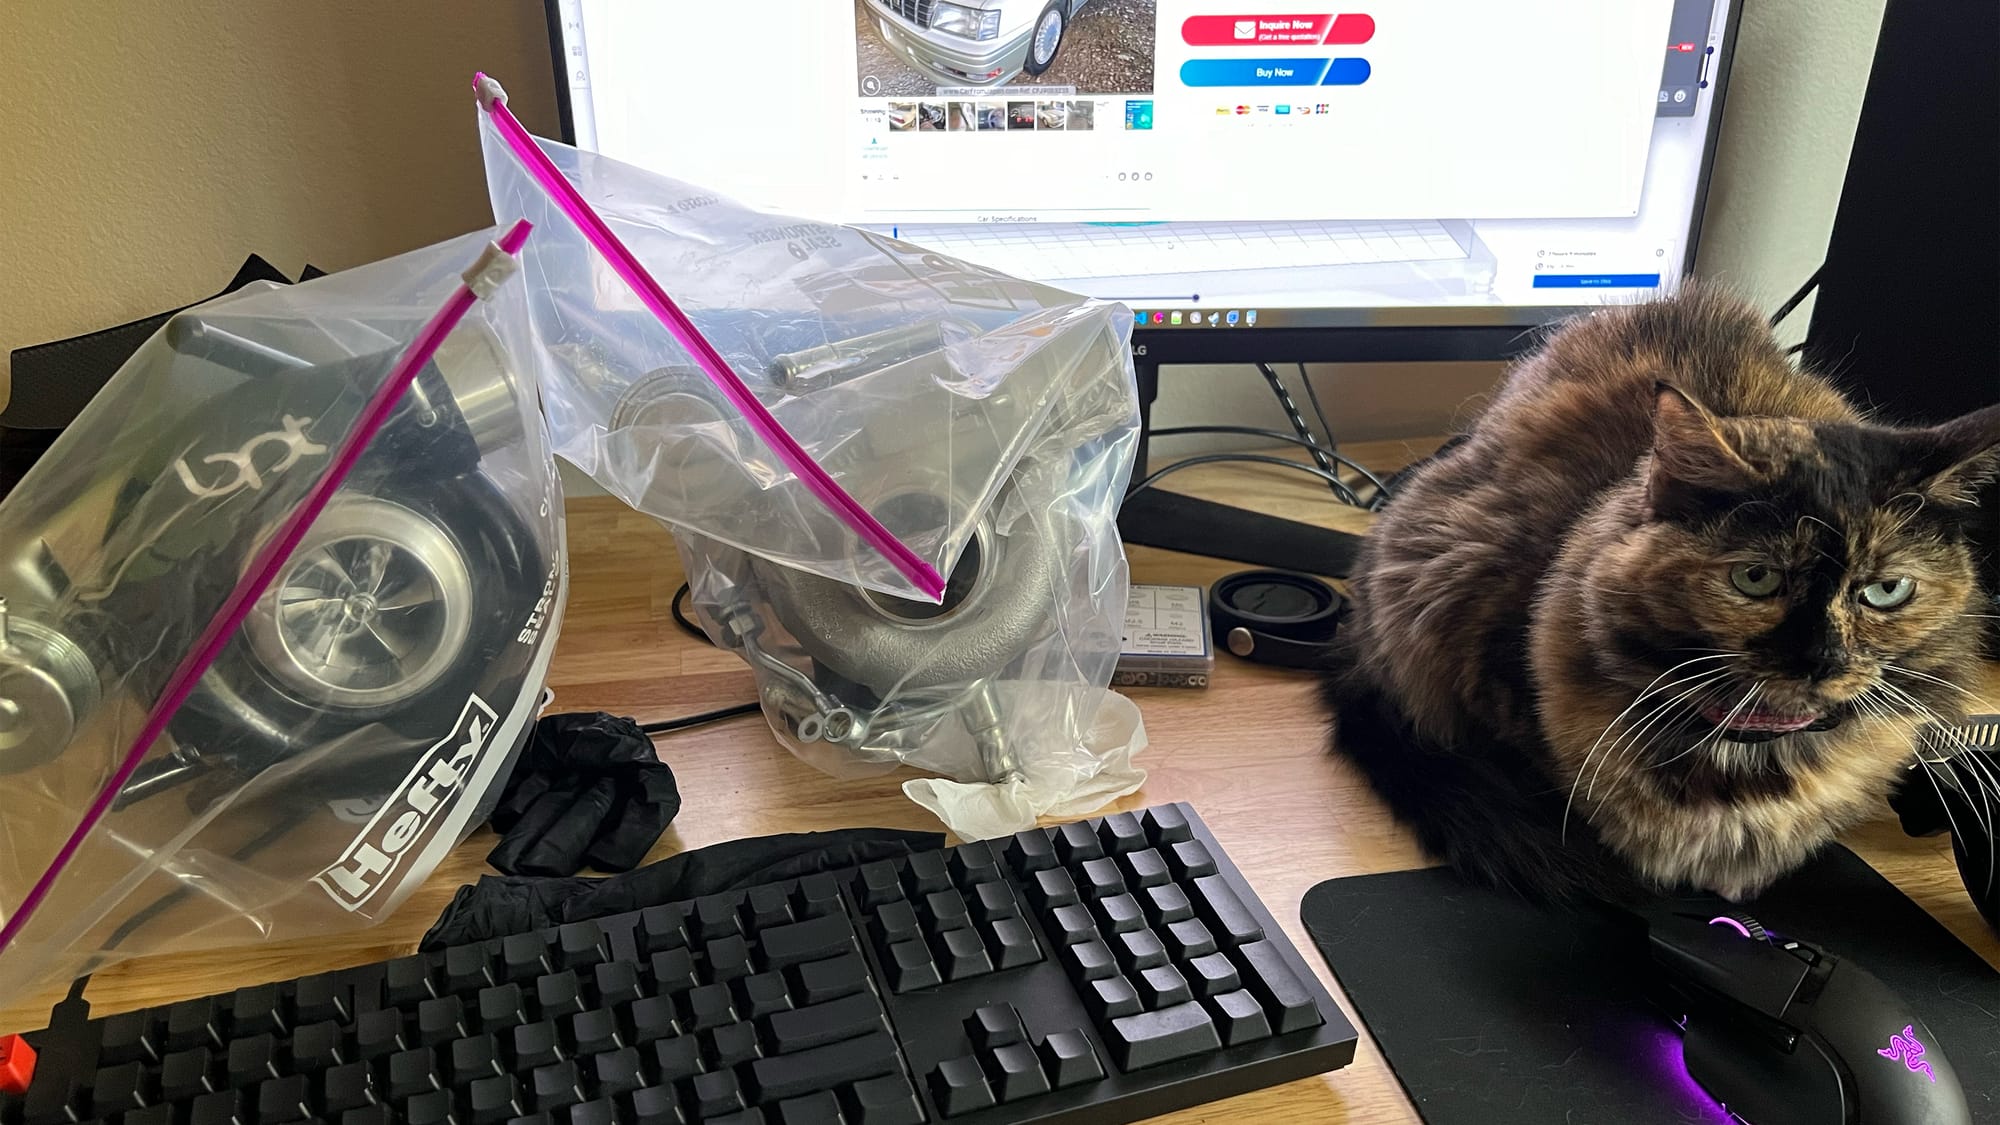
As for the engine there aren't really OEM+ options for that so your only real options are aftermarket. I was originally going to do full bolt ons with the stock turbo but I figured if I'm going to be spending this much money on an EJ to make just 300-330whp I might as well just get a bigger turbo to make better use of all these parts. So yeah, I did a bunch of research and picked these parts out with the goal of making >350whp without sacrificing too much low end power. Bolt ons with a Dom 1.5 will get you there.
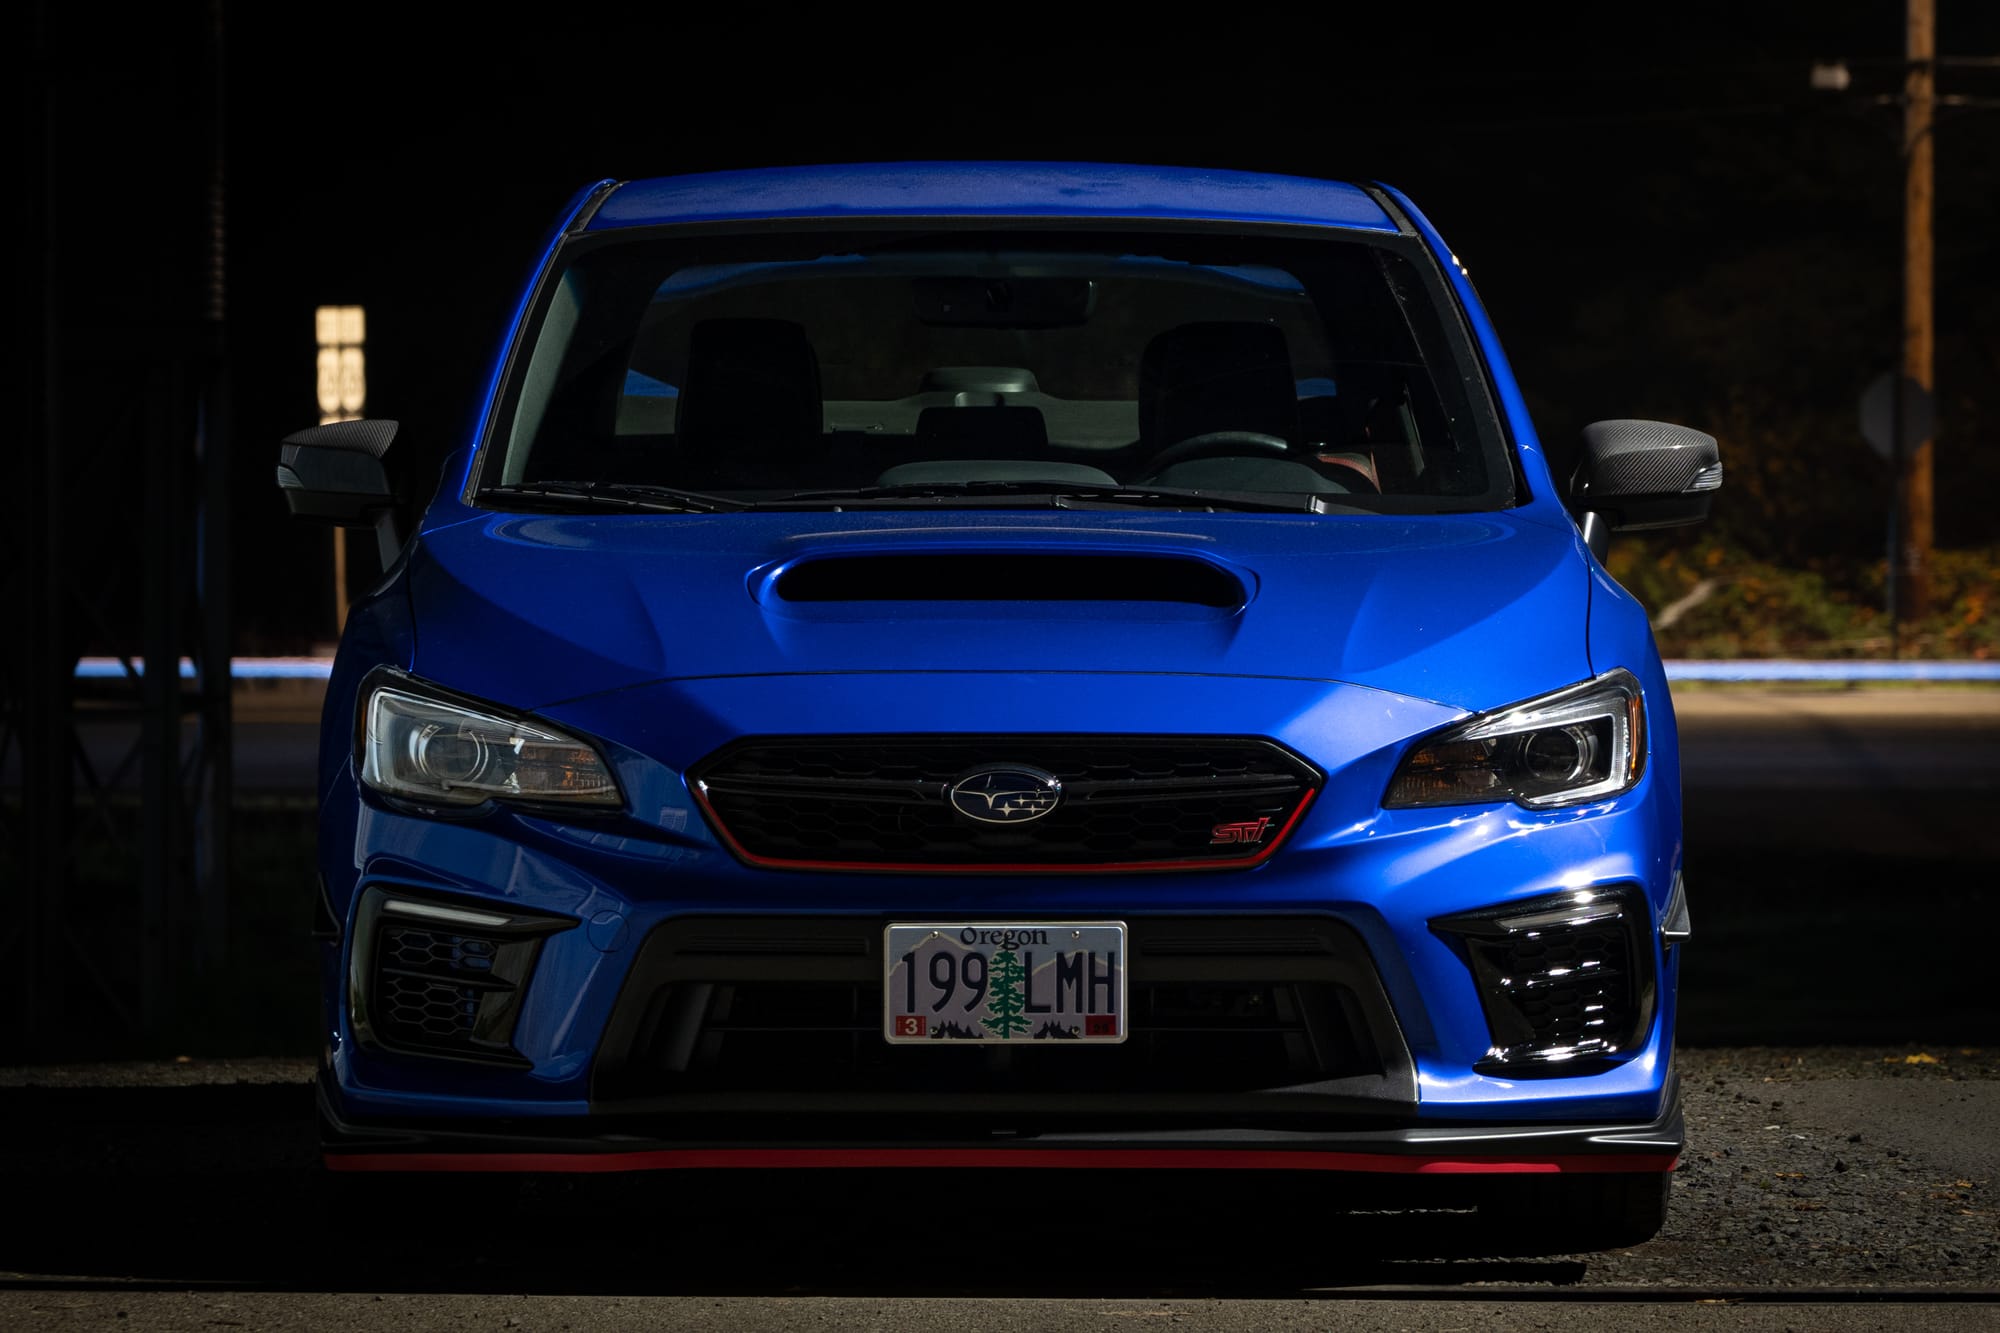
tl;dr: I wanted to build some sort of wannabe S209 with more power and stick to OEM/STI parts where possible.
Parts and Specs
How to not have money.
Engine
- AEM 340 Fuel Pump
- COBB 1050x Injectors
- COBB Fuel Pressure Regulator
- GrimmSpeed StealthBox Intake
- COBB Turbo Inlet Hose
- Blouch 1.5XT-R 10cm 2.4" Inlet Turbo
- GrimmSpeed EBCS
- GrimmSpeed TMIC
- Killer B Holy Header w/ V-band Uppipe
- MAPerformance V2 Downpipe w/ GESI Cat
GrimmSpeed Resonated Catback- HKS Super Turbo W-Tail Catback
- IAG V3 Street AOS
- Killer B Oil Pan
- Killer B Oil Pickup
- Killer B Windage Tray
Drivetrain
- STI Short Shifter
- STI Group N Pitch Stop
- Perrin Shifter Bushings
Suspension
- STI Front Draw Stiffener
- STI Front Strut Brace
- STI Front Support Brace
- STI Rear Draw Stiffener
- STI Rear Draw Guard Bar
- STI Rear Subframe Brace
- STI Rear Lateral Link
- STI Rear Trailing Link
- Cygnus X-1 Coilovers
- 8K/8K Swift springs
- High caster camber plates
- Long travel (~stock ride height)
Interior
- JDM Extended Armrest
Exterior
- STI Front Lip
- STI Cherry Lip Skirt
- STI Canards
- SubieBros JDM Vented DRL Bezel
- STI Side Skirts
- STI Rear Spats
- Subispeed Red Grille Pinstripe
- Subieflow Carbon Mirror Caps
- RallyArmor Mud Flaps
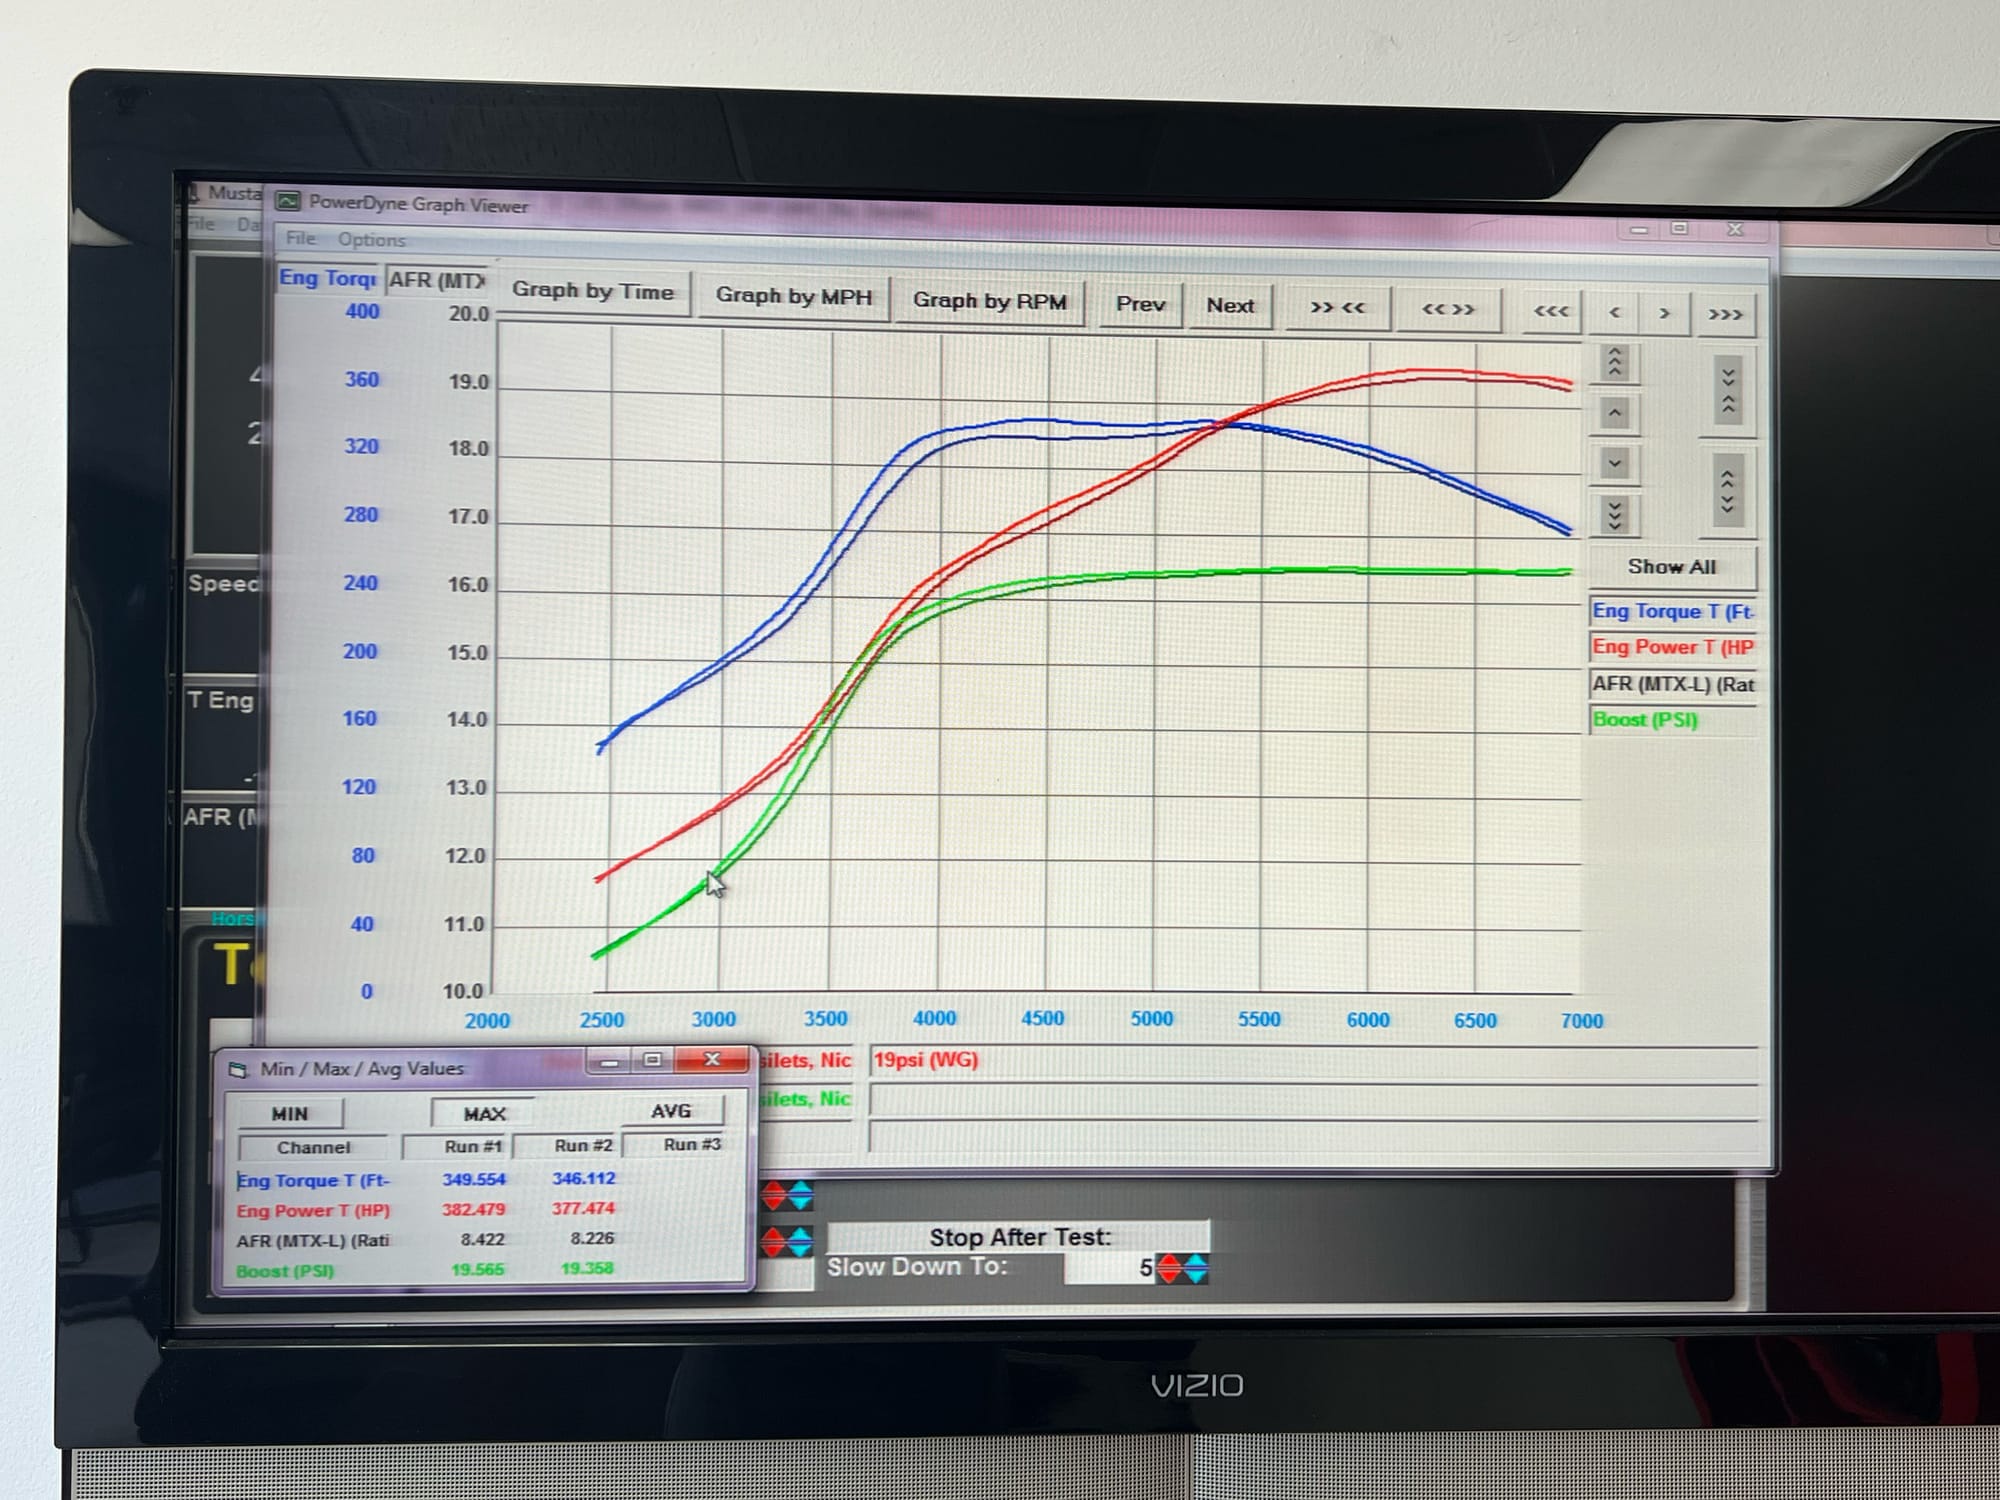
Tuned at Surgeline - 382whp/349wtq at 19psi on 92 octane. Could make a bit more but limited torque to ~350ft-lbs.
The Future
How to continue not having money.
More Parts
For the most part I think this car is more or less finished except for some misc. parts here and there. Power-wise this is a good stopping place. Adding more power to take full advantage of E85 would require larger injectors, probably an upgraded clutch, forged pistons would be needed even moreso, and the rabbit hole continues... currently it has plenty for the street/autox. You still probably will get smoked by most modern sports cars in a straight line (lmao) but IMO that's not what this car is about. It's also a good compromise in power/streetability. You can make more power with larger turbos but then you're just adding more turbo lag, which I don't want.
Updates
~2024H2
Flex Fuel
I added a flex fuel setup for some extra safety margin when I'm going to beat on the car at autox/on track. The flex fuel map makes the same 380whp as pump gas so I get all the extra benefit of knock protection and slightly cooler running temps. It can absolutely make more power but 1050cc injectors are a bit undersized for this turbo so I just left it as-is. If I had 1300ccs my tuner estimated it could probably hit 430whp fairly easily. It's not cheap to do this and it might sound insane to stay at the same power level but uhh, hey money isn't real. If I get bored with the car and want more power I can always swap injectors later on down the road and send it to the moon and finally blow it up.
New Wastegate Actuator
The stock 15lb actuator on the Dom 1.5 I had always gave me an effective 19psi wastegate pressure, which worked okay but my tuner wasn't particularly comfortable with that and my only boost control was my right foot. I wanted some actual boost control (I paid for a 3-port EBCS afterall) so I tried a Turbosmart actuator that works with the Dom 1.5 and put in a 10lb spring. This helped quite a bit actually but the internal wastegate definitely still suffers from boost creep with my setup. So my SI modes are now:
I: 10psi, creeps to 13psi on 92 and 16psi on E70
S: 15psi
S#: 19psi
The interesting part about running wastegate pressure on 92 octane is that the boost creeping up to 13psi actually creates a nearly perfectly flat torque curve from 3700-7000rpm. It makes 310whp on 92 at 13psi with a flat 280wtq. Still feels pretty decent actually. On E70 it made 350whp creeping up to 16psi with both torque/power building to redline.
I think with this turbo you will probably want to go with an external wastegate for precise boost control. But to be honest this does just fine for me and it's simpler. The boost creep I get here isn't dangerous at all in terms of fueling and this turbo is much more efficient at higher boost levels compared to stock anyway.
~2024H1
Wheels
In the spirit of making a wannabe-S209-of-sorts and wanting some nice looking wheels I decided to go with a wider wheel and 265 width tire setup. I went with 18x9.5 +45 Advan RSIIIs in Hyper Black wrapped in Continental ECS02s in 265/35. This setup doesn't rub at stock ride height, no rolled fenders.
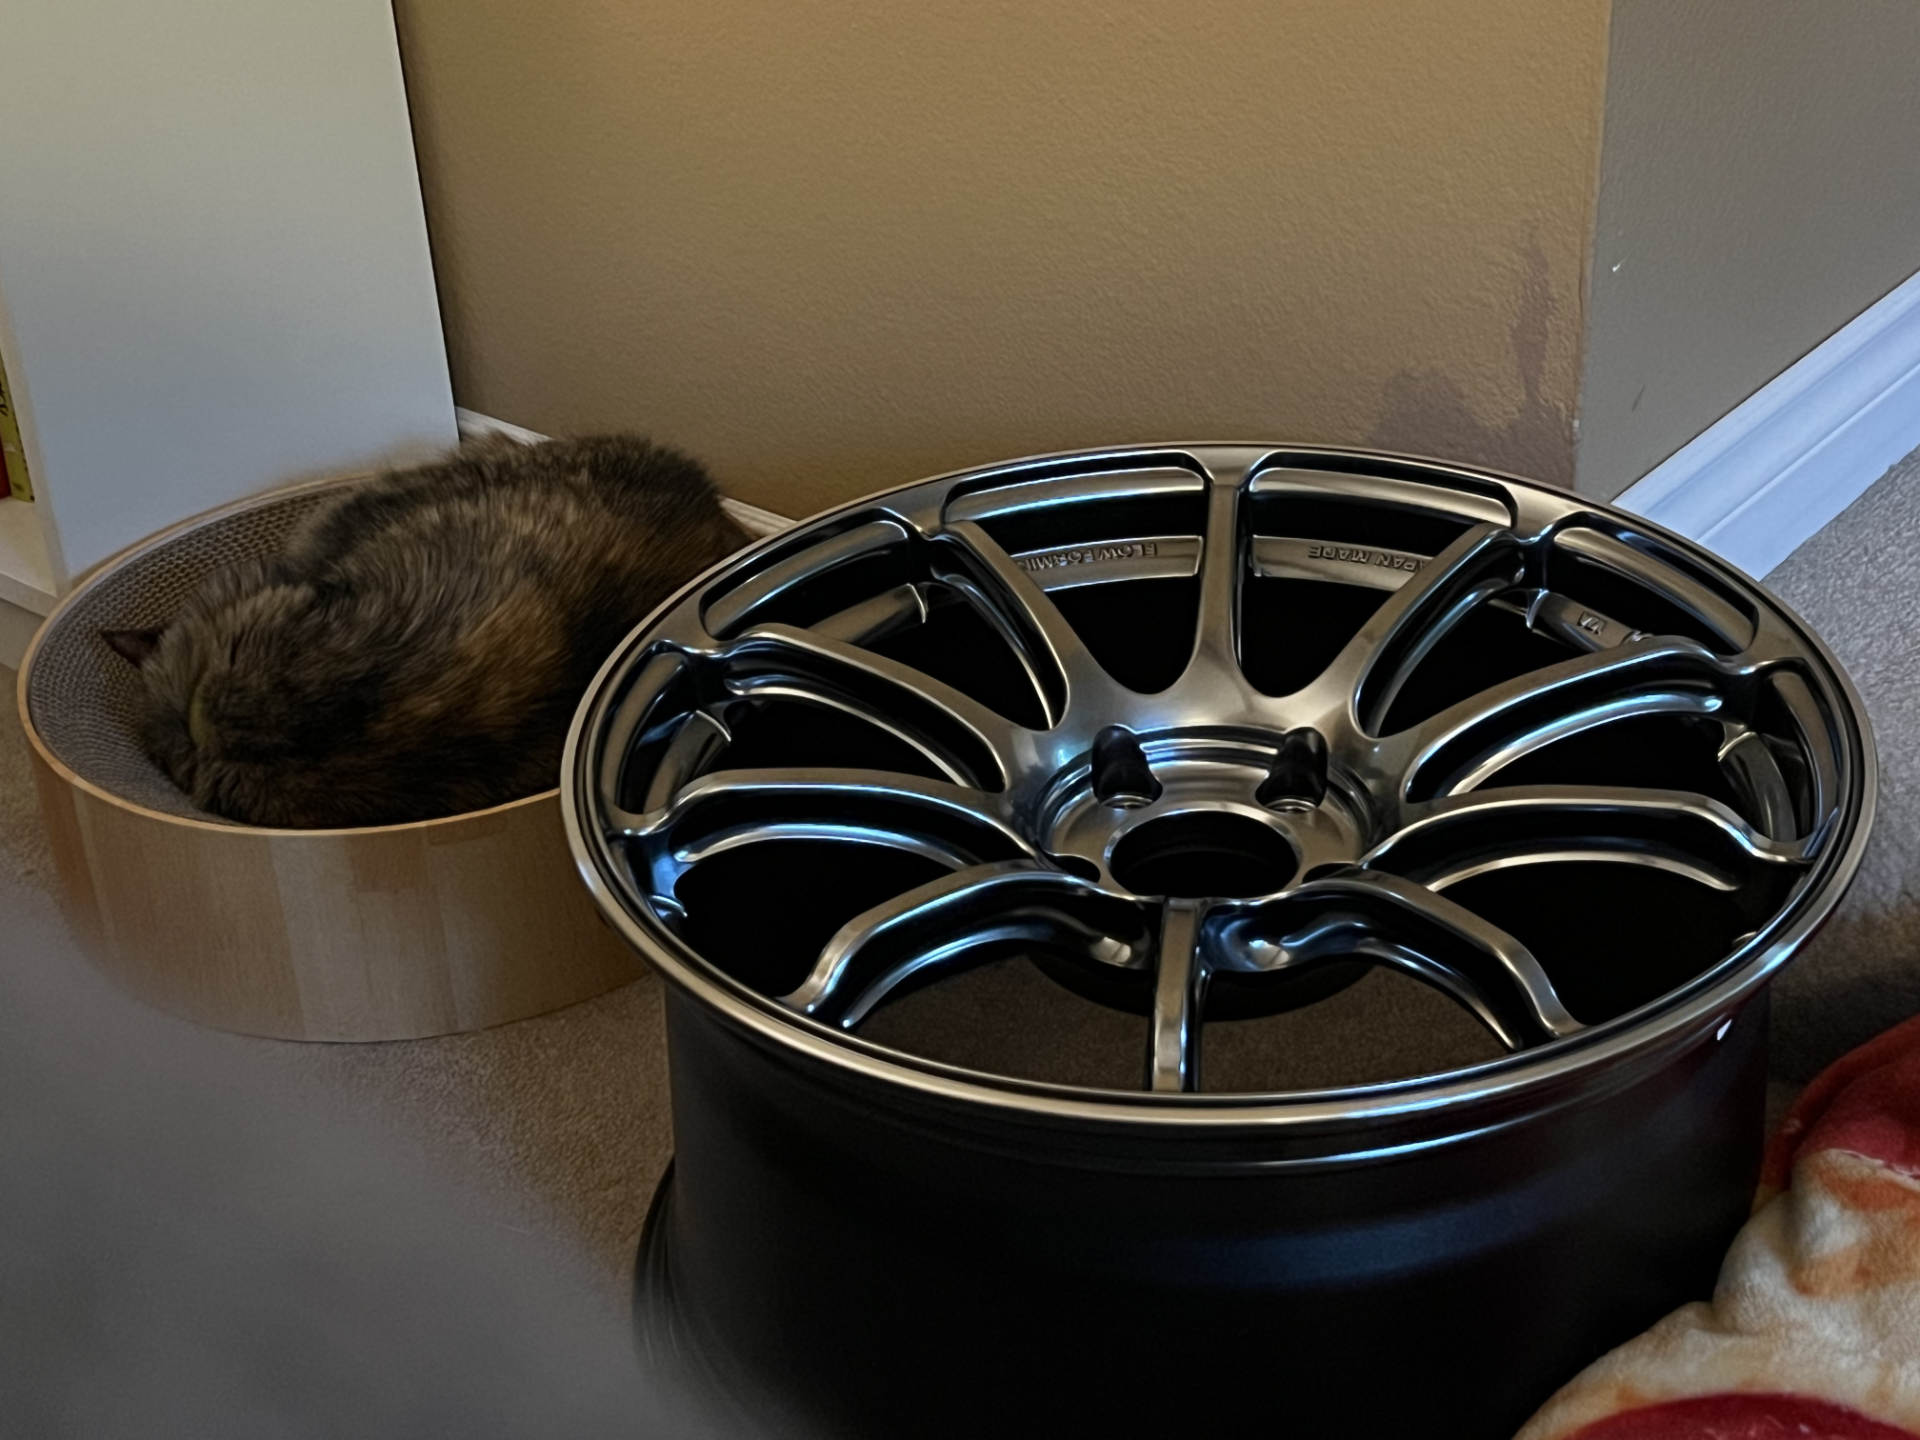
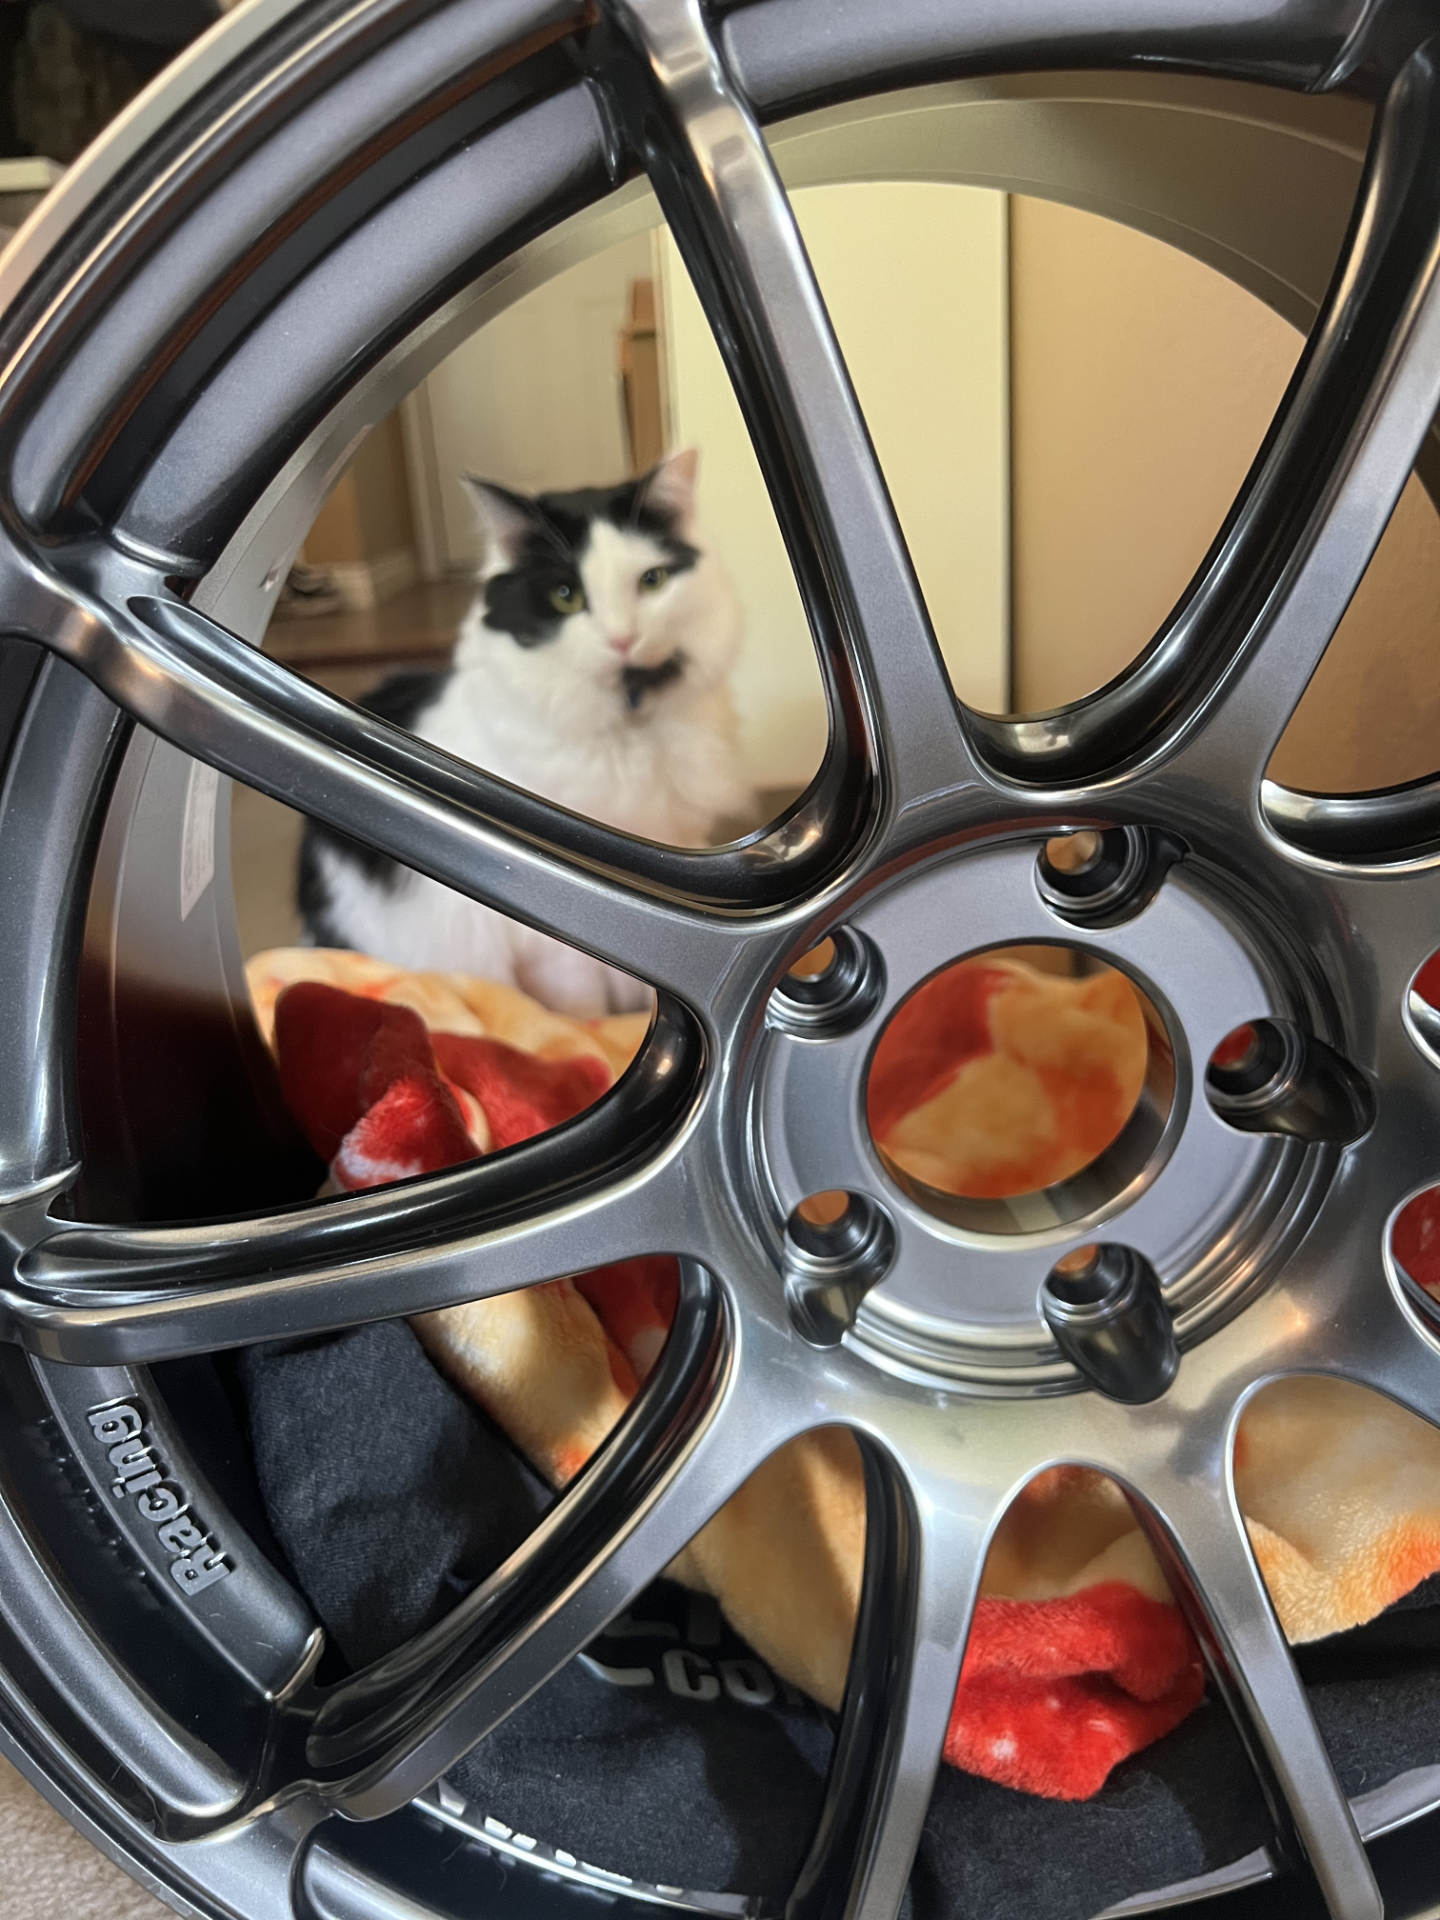
Compared to the stock wheels and tires this combo is about ~42lbs lighter in total according to my bathroom scale measurements. The wheel itself weighs about ~18.5lbs which is pretty good considering the stock wheels are 28-29lbs.
Coilovers
I wanted to change the handling dynamics of the car to reduce understeer from the factory and reduce body roll a bit while still retaining factory ride height. The car is still a daily so as good as the car would look lowered at the end of the day I don't want to deal with low car problems. It already scrapes enough with the lip if you're not careful.
I was stuck between Ohlins R&T and Cygnus X-1s (upgraded Fortune Autos) but settled on Cygnus X-1 coilovers with some extras. The longer shock body upgrade lets you keep factory ride height. I did my own string alignment with the following specs:
Front:
Camber -2.0/-2.1
Toe 0.13 degrees total out
Rear (still factory):
Camber -1.5/-1.7
Toe 0.01 degrees total in
Ride height: Was shooting for stock height but it's about a quarter inch lower or so and I just left it that way.
Overall I am pretty happy with the Cygnus X-1s. The car feels much better in the corners. It's more direct and more confidence inspiring is the best way I can describe the difference. The most surprising part was that the ride quality is actually still pretty good too. It's a bit firmer in some ways than stock and also has a bit more NVH. But it also still sucks up the bumps well and does not crash around. On the stock suspension speed bumps were pretty harsh and jostled you around quite a bit but these coilovers absorb them much better.
The extra camber and caster at the front also helps remove the understeery/pushy feeling at the limit and you can feel the rear of the car just start to rotate a bit. Not enough to need to countersteer but it just works with you. With that I'm going to leave the rear swaybar stock. In my quest for an OEM+ build I think this fits the bill suspension-wise. Daily comfort is not really negatively impacted that much and the car definitely feels better overall.
Before and After
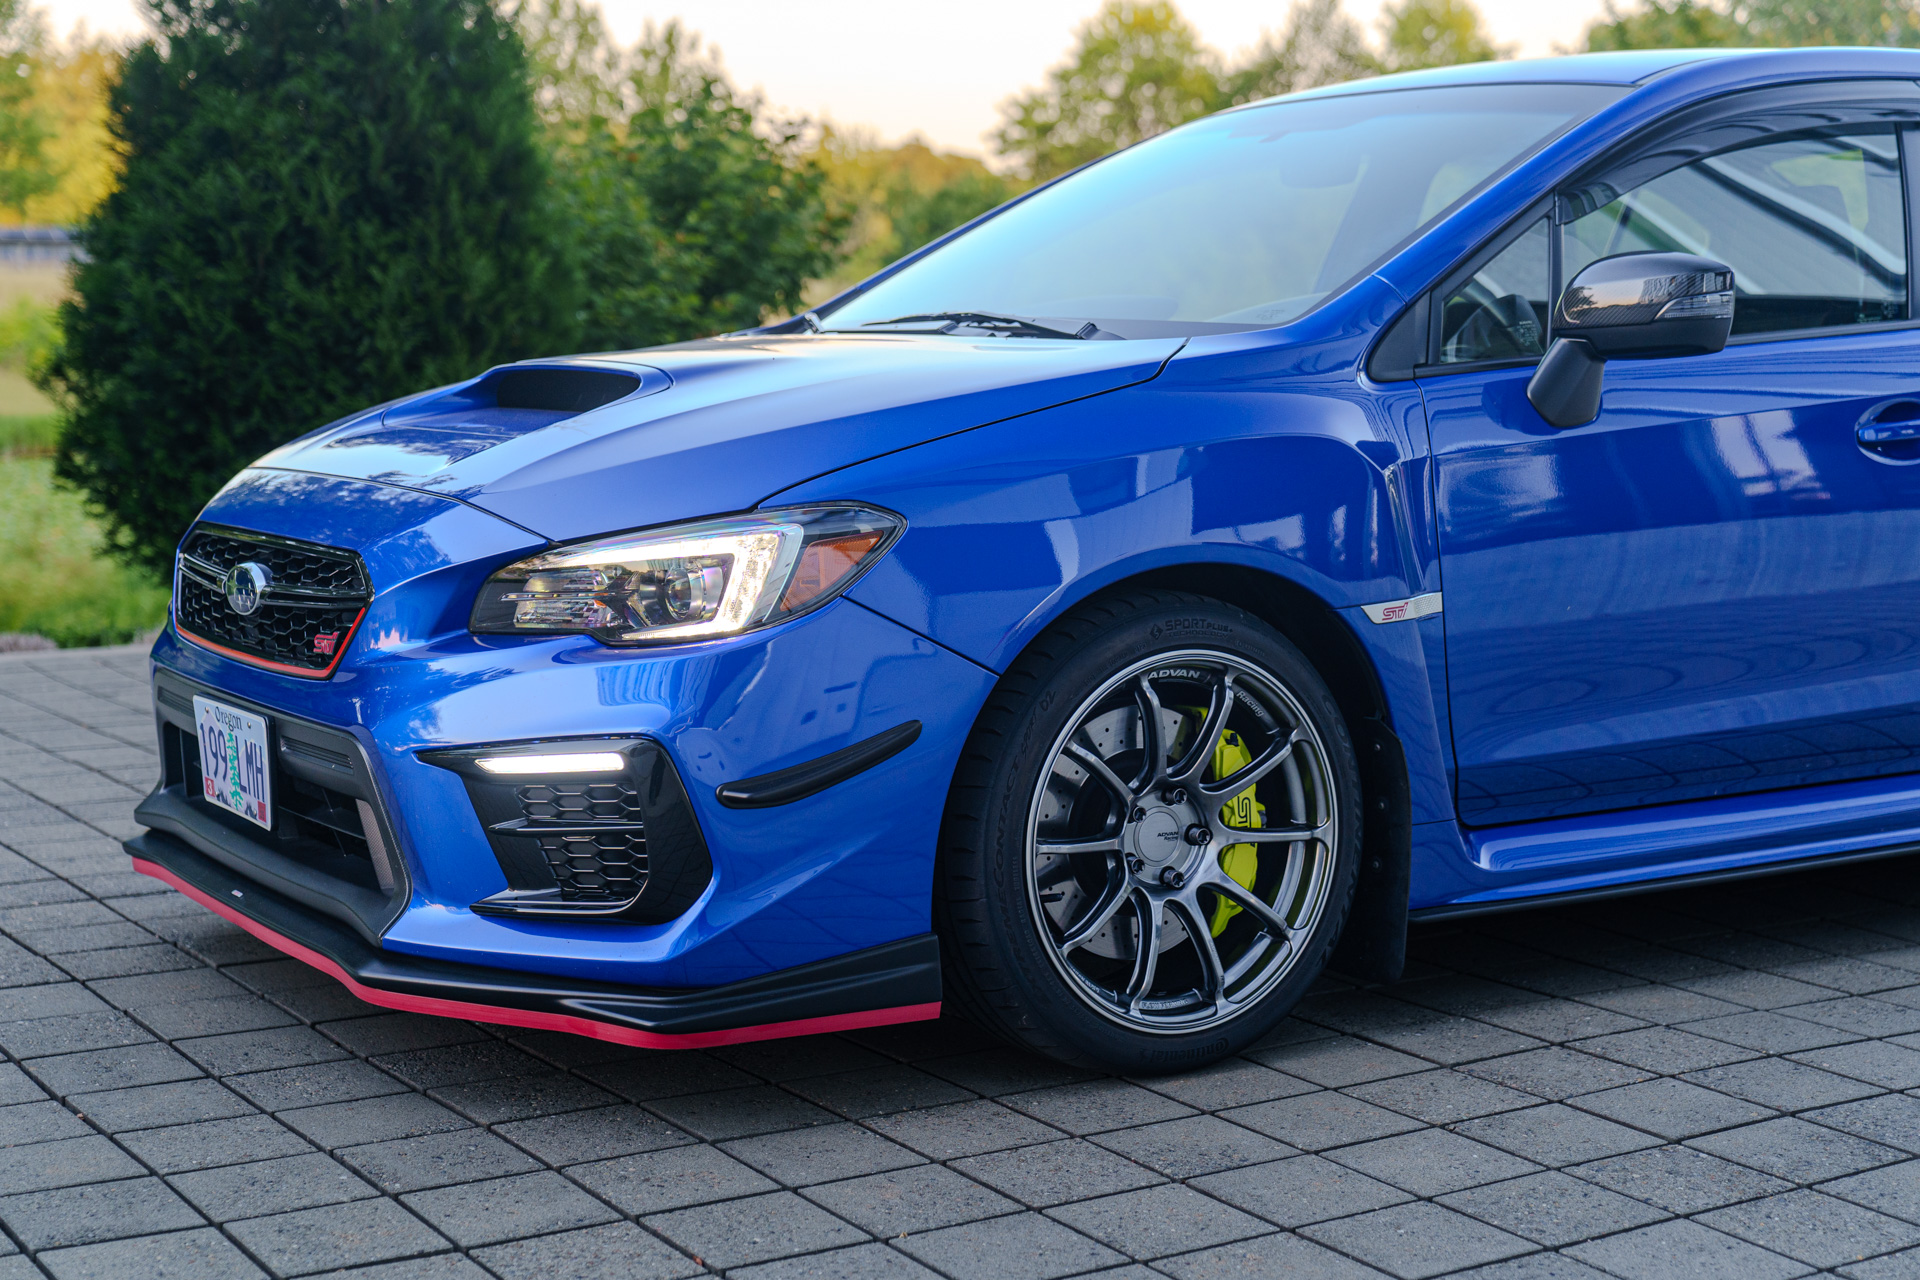
Todo
- More pictures and stuff
- Updates section
Issues Encountered
Can't do all this without at least one problem.
This section is mostly for ongoing issues that remain TBD for solving them. There are installation issues in the next section.
Known problems:
- Boost creep. The internal wastegate on the Dom 1.5 isn't up to the task with my setup. tl;dr: it's a bit better now with the 10lb actuator (see updates section). If you stay with the 15lb actuator you may see 19psi gate pressure.
- I fucked up installing the oil dipstick tube and either unseated or ripped one of the o-rings on it. As a result of that the oil pan weeps a small amount of oil from where the dipstick tube enters the oil pan. An hour or so on the dyno results in a couple little spots on the ground. So I need to re-install the dipstick tube with a fresh set of o-rings before autox season. EDIT: I definitely unseated the top ring and this was easily solved by just going full ghetto and cleaning out the area around the top o-ring and slathering some RTV on. Much easier than taking stuff apart tbh.
Misc. Notes
This is broken up into two sections: Parts and Installation.
Parts
Random notes for why I picked some parts and/or my experiences with them so far.
Arm rests
If you are an adult that is larger than the size of a baby then the JDM extended armrest is an absolute must if you want a functional armrest. It raises the height and extends it forward while also giving you a little extra storage compartment.
Front Bumper Bezels
Initially I cheaped out and bought a set of aftermarket DRL bezels that looked pretty close to OEM but added a JDM-style DRL for a good price. Fitment was decent and they looked good but eventually they started forming a lot of little cracks. OEM bezels, while more expensive, are a much better fit and finish and are designed to last. Buy once cry once.
Air Intake
I went with GrimmSpeed mainly due to the design of it where it pulls in air from outside the engine bay and still retains the air straightener for the MAF. I don't know how much of a difference the MAF air straightener actually makes but it seems like a good idea. As a bonus, if you have a '20+ front bumper bezel you can remove the back panel on the bezel to allow more air into the passenger wheel well area. The air filter sits slightly below the headlight so water intake shouldn't really be a concern. If you blast some poor soul on the sidewalk ramming through a large puddle though you might need new rods, so maybe don't do that.
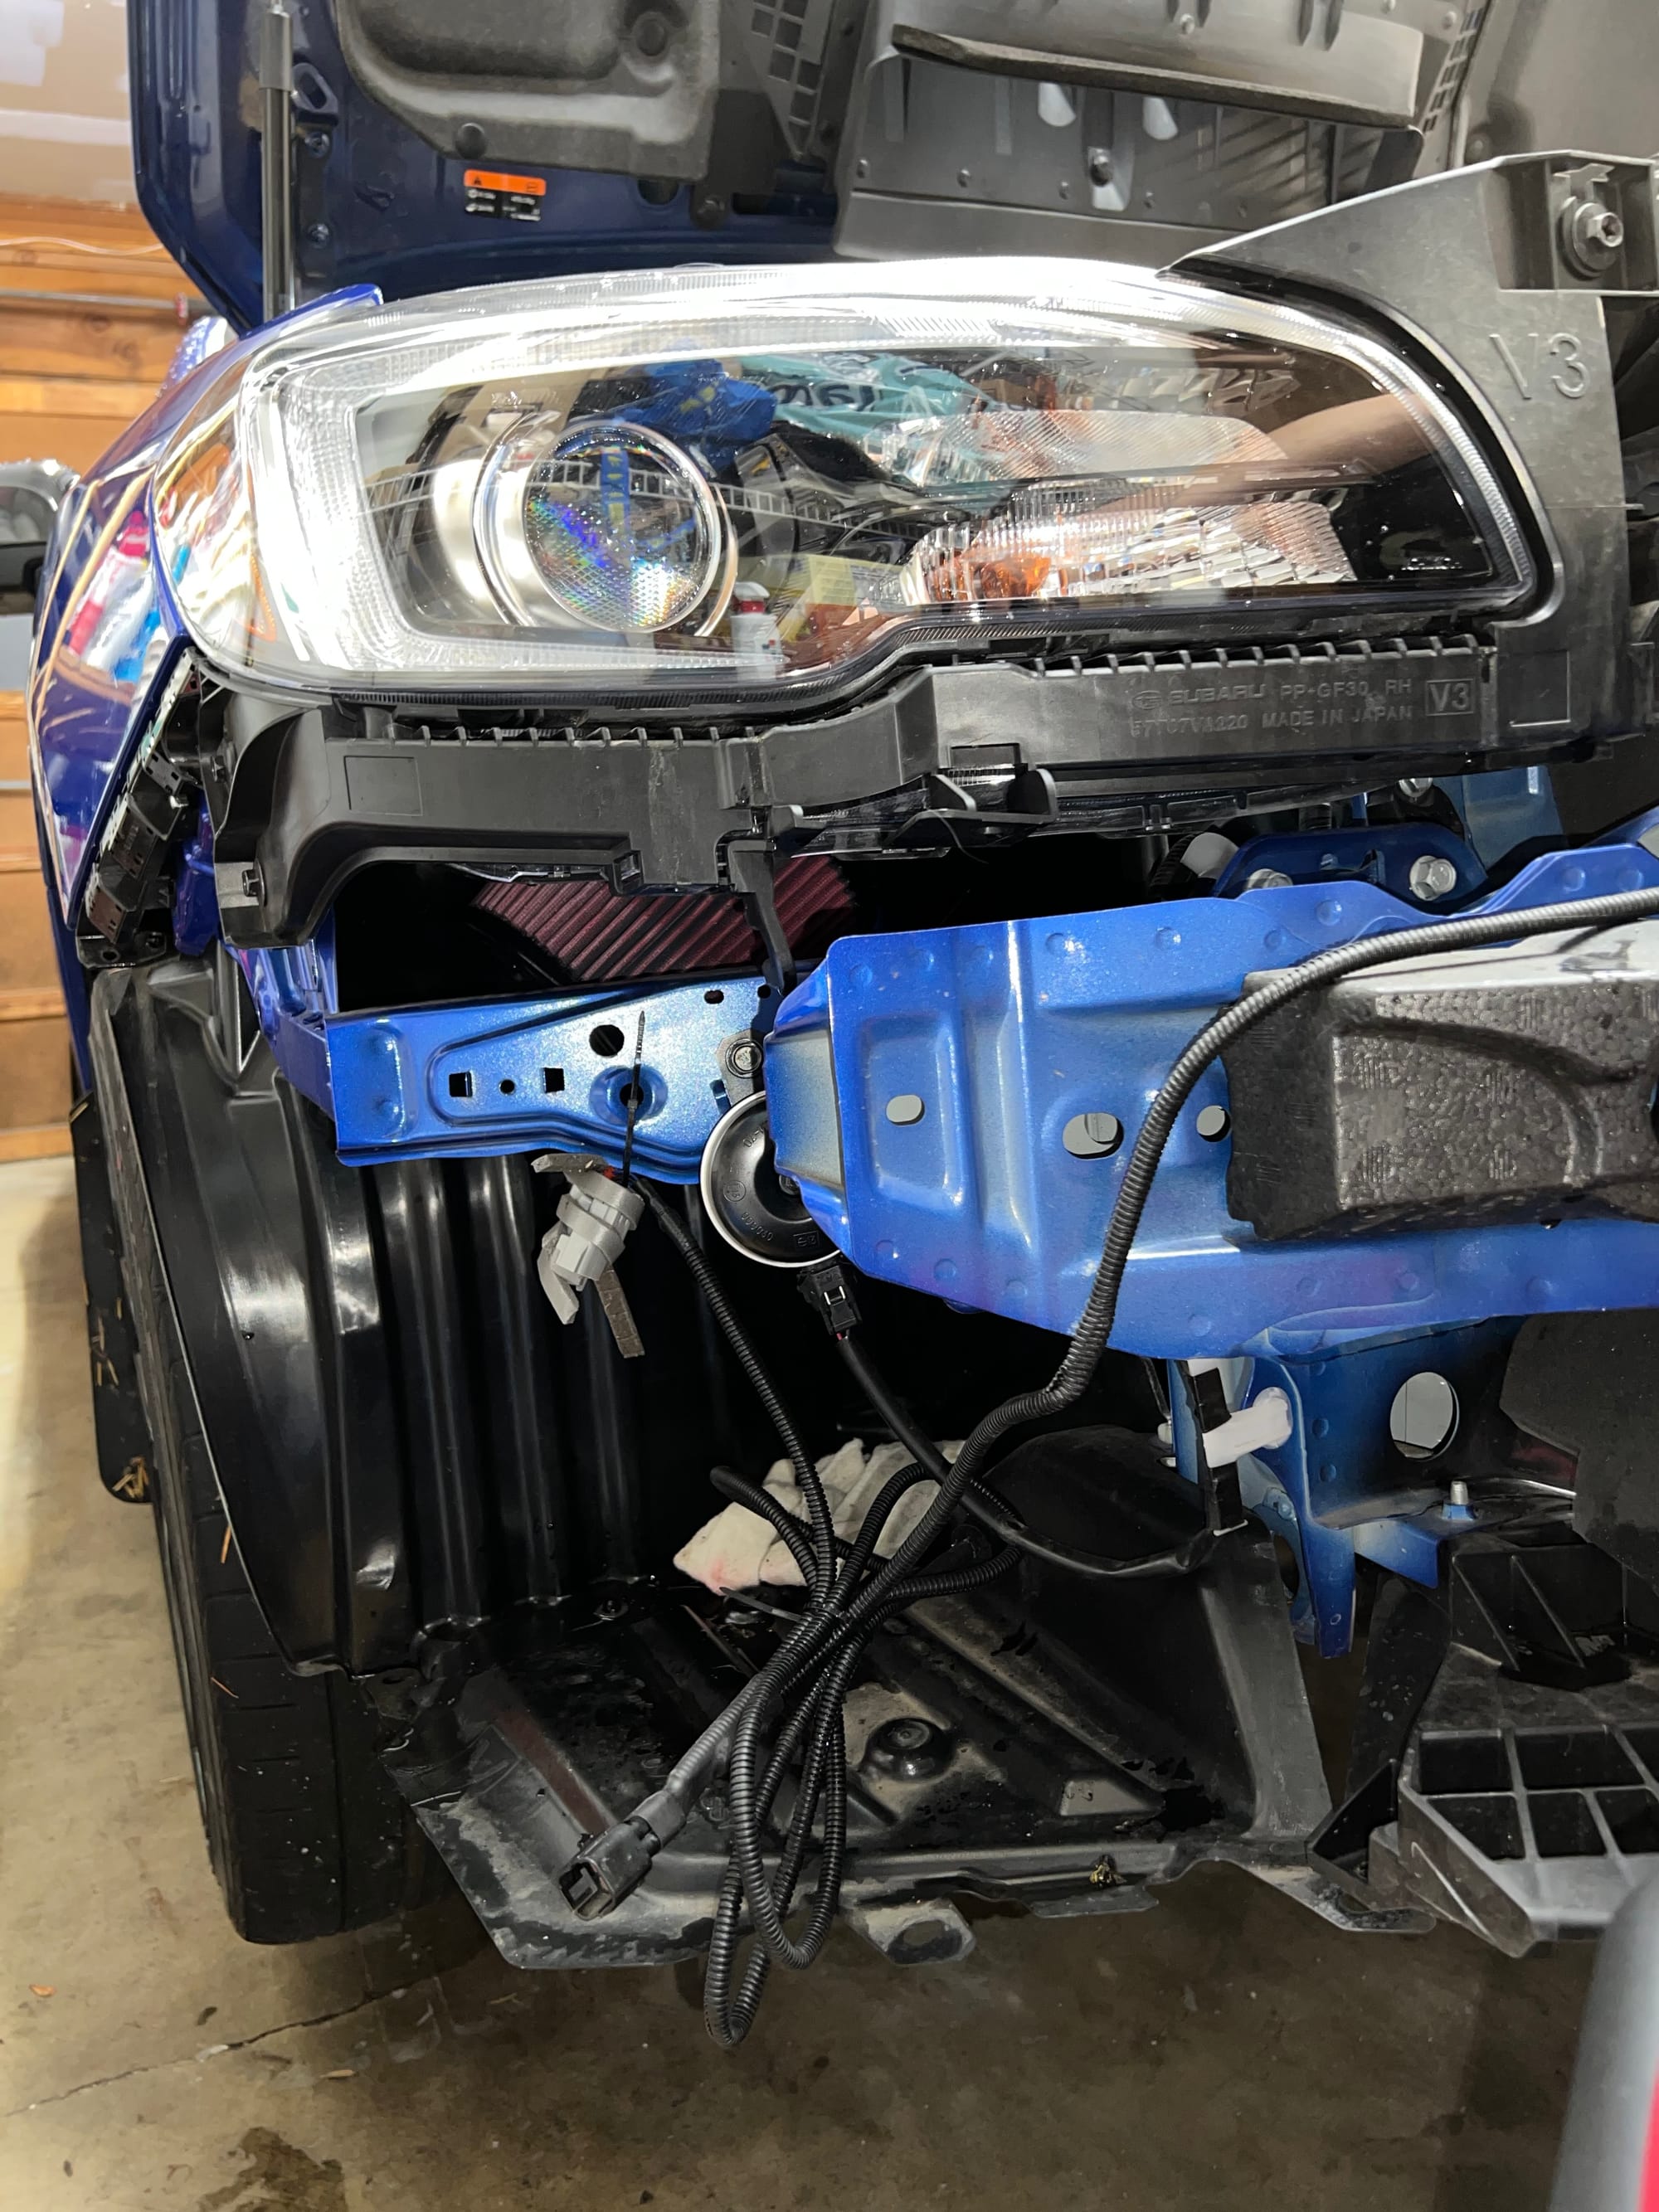
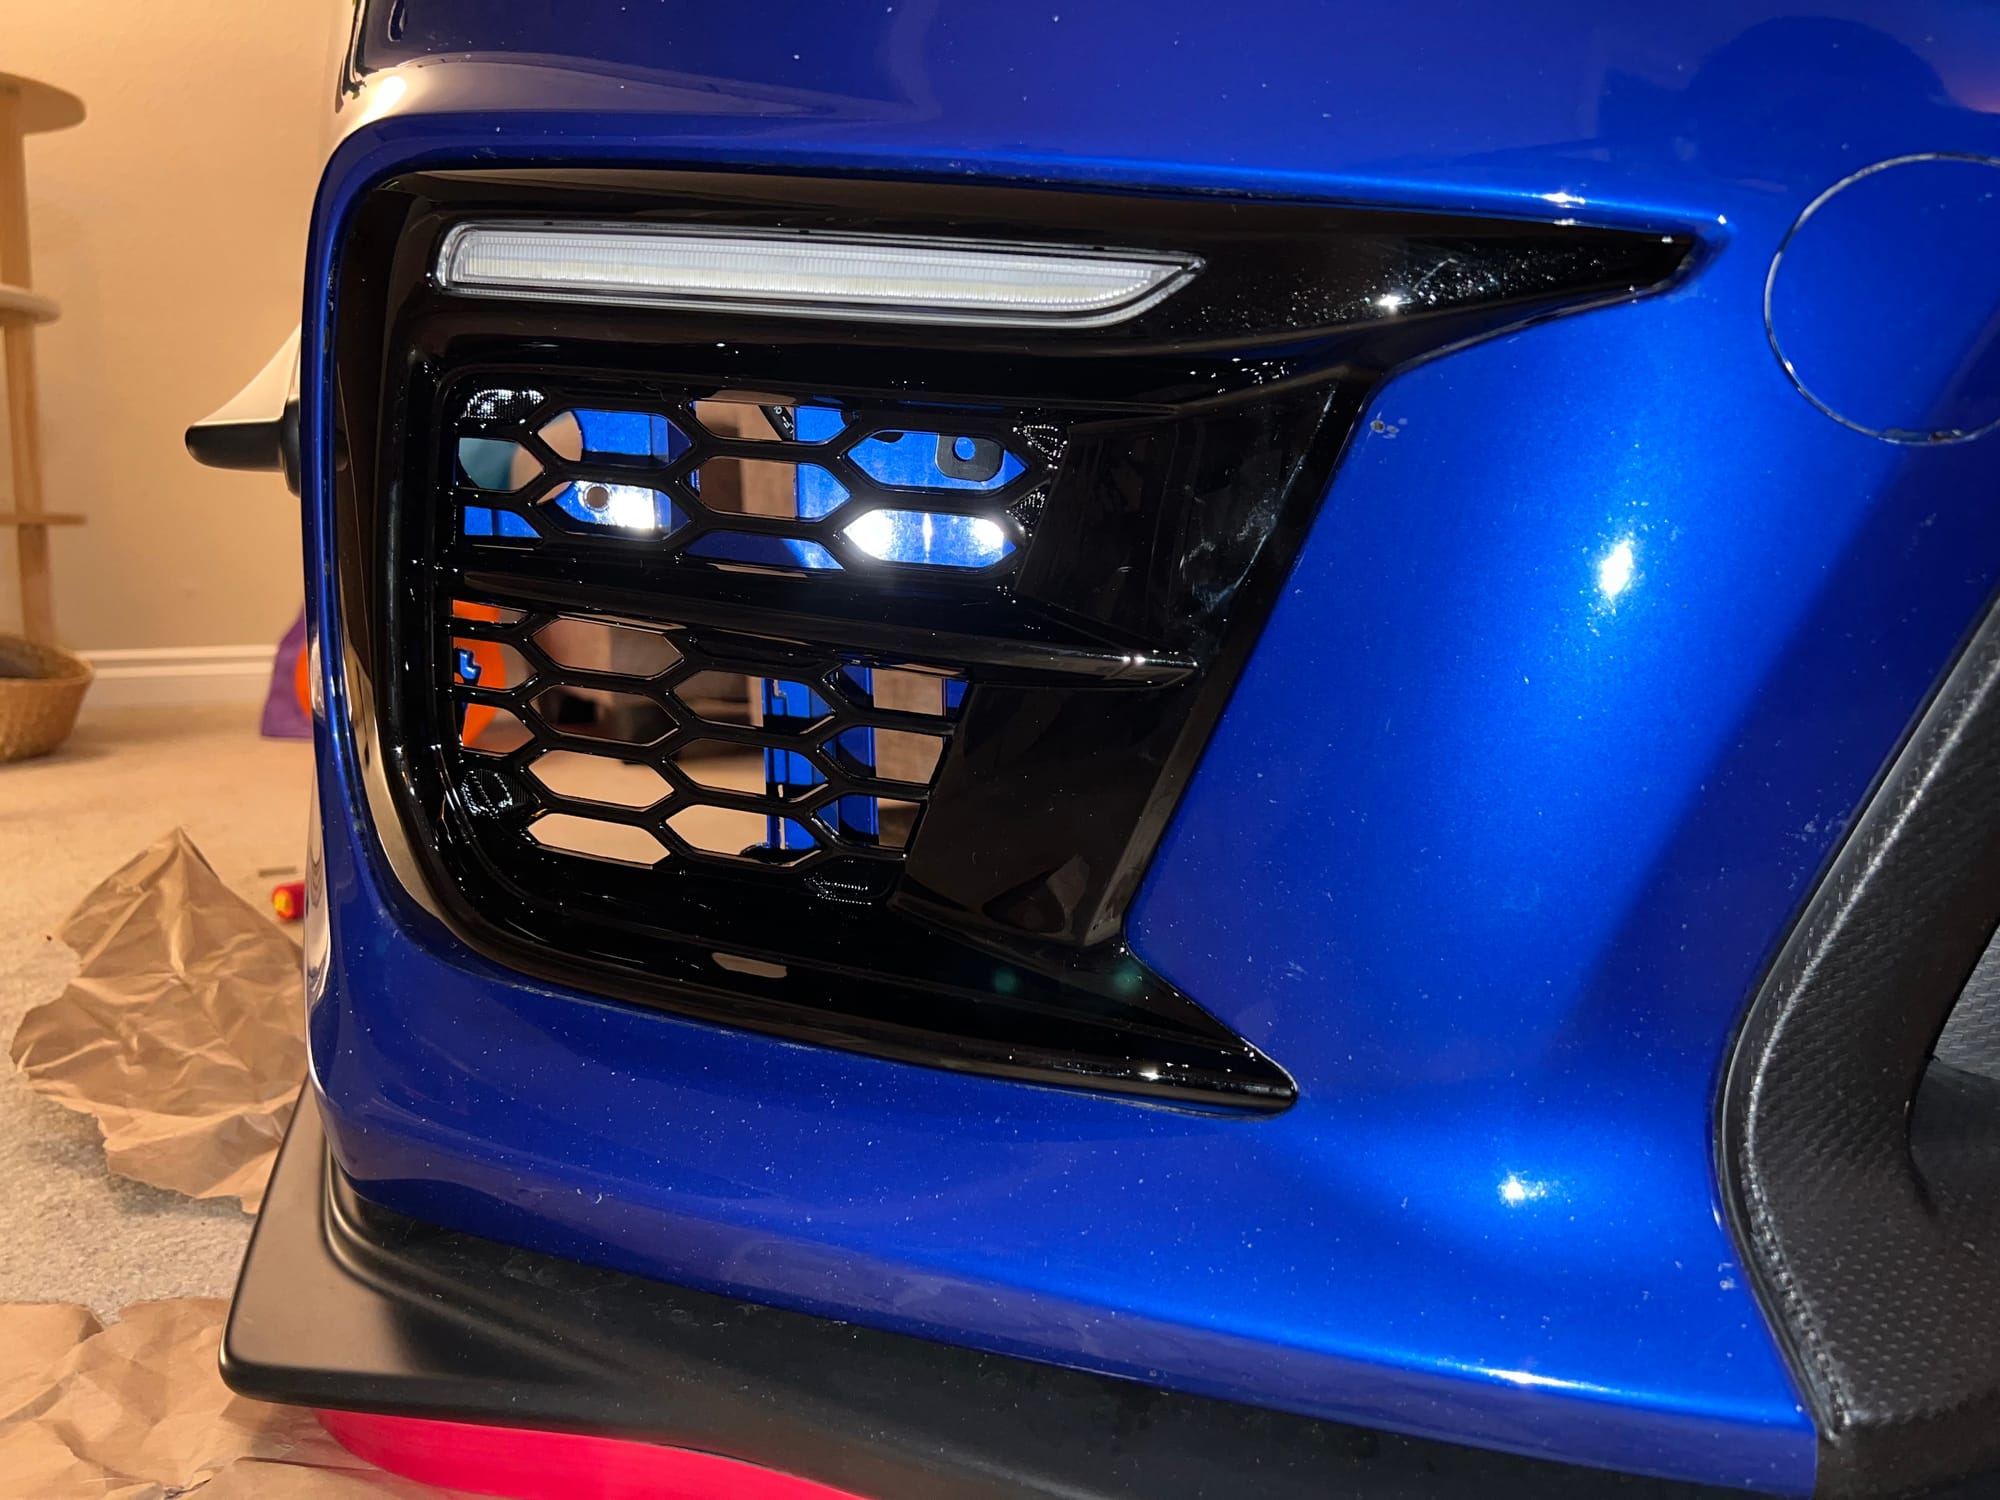
Don't look too closely at my paint chips that looks like someone blasted it with a shotgun.
The stock 2019 air box is decently audible already IMO but this will make it more noticeable without being too crazy.
Equal Length Header
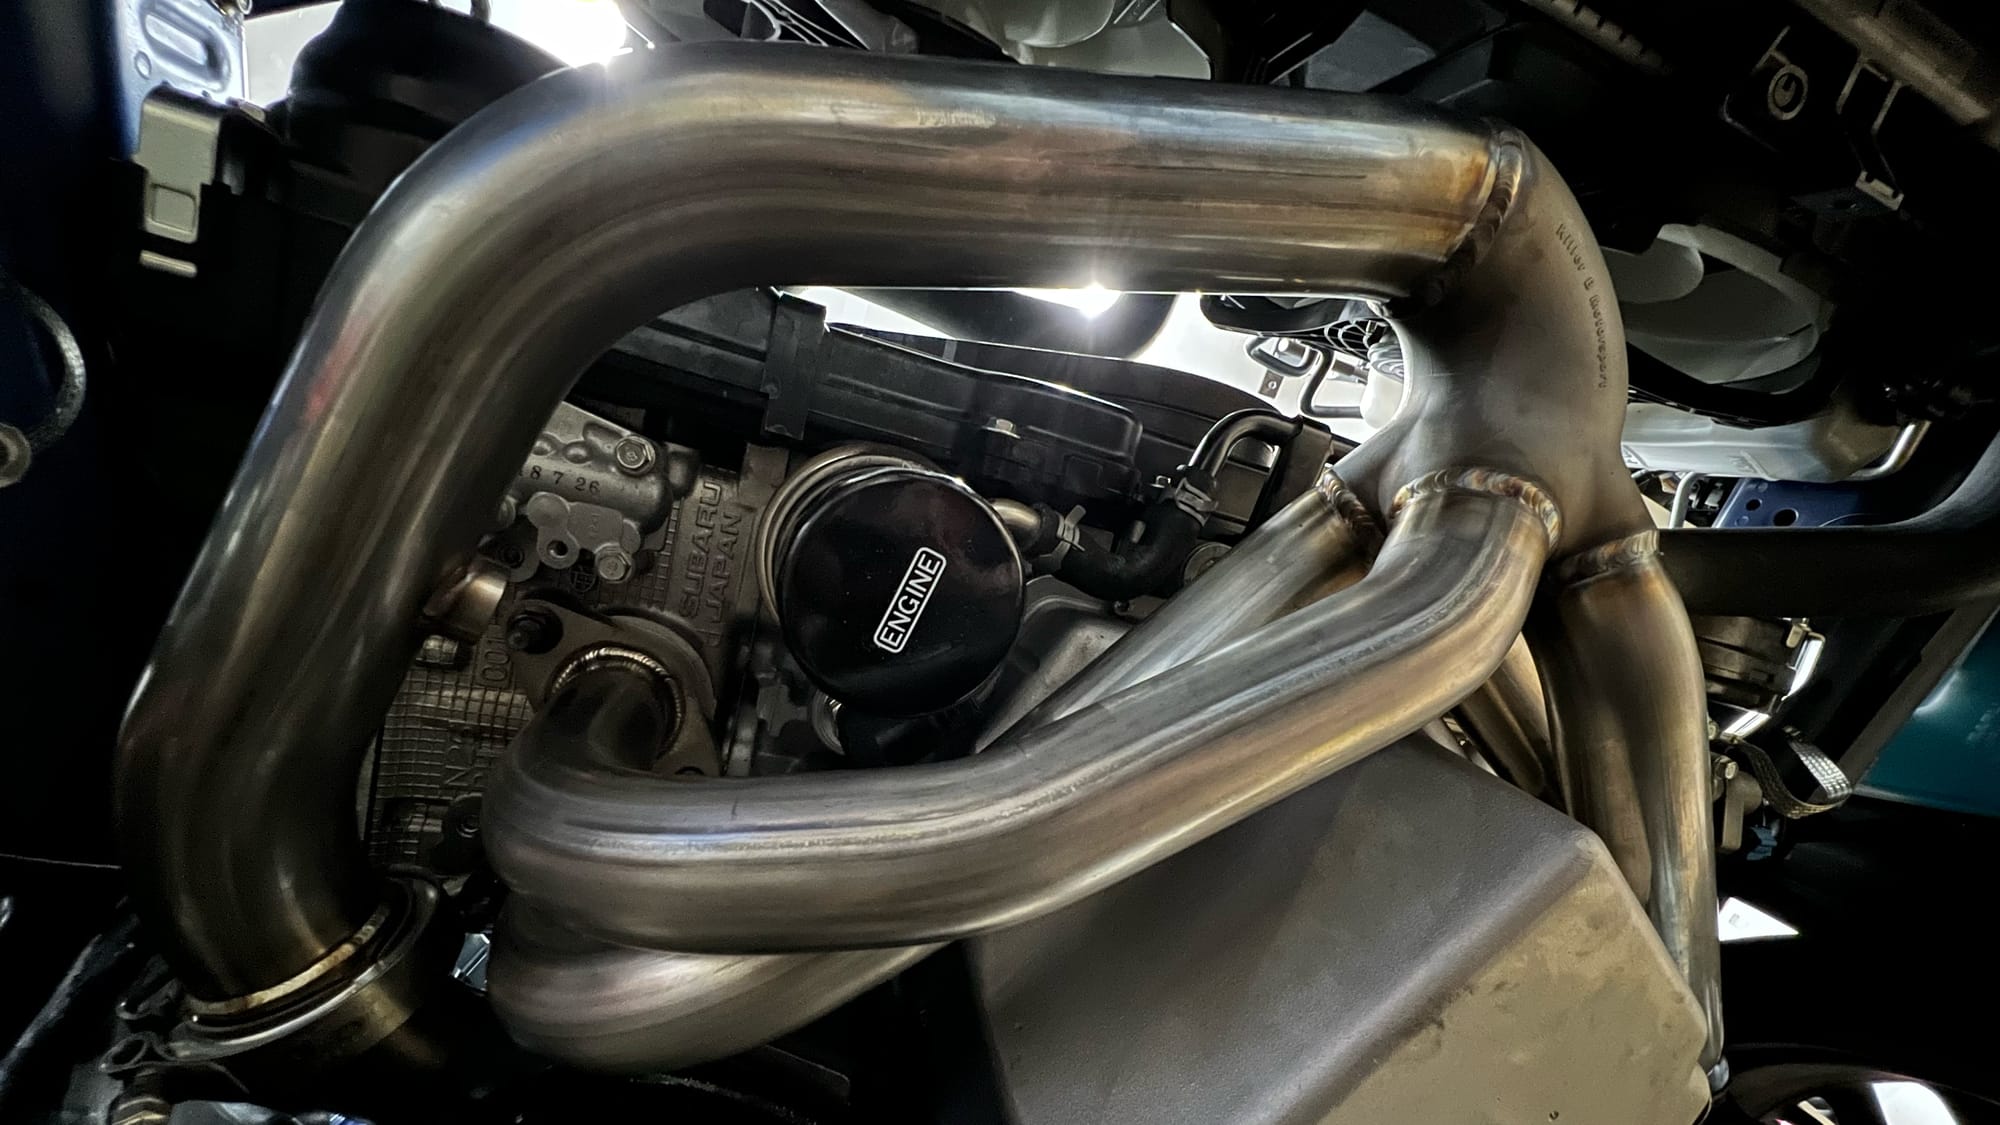
Went with a Killer B Holy header due to their choice of using 321 stainless steel (more resistant to cracking from higher EGTs in turbo engines over 304) and also the equal length design. I do kind of miss the classic unequal length Subaru sound but this still sounds pretty good to me and has a bit of a unique note still. Plus it's different from the Subaru rumble that I hear all the time anyway living in the PNW. Sound aside, an equal length header just seems better in every other aspect and is probably a reliability mod in itself. You lose the rumble but I feel like you gain so much more (better flow, better scavenging, more consistent EGTs, consistent cylinder temps, more top end, etc.)
Turbo
The stock turbo with stock parts has pretty good mid range torque starting around 3-3.5K but feels like it dies off towards the top. I wanted something that would give me more top end power without taking away too much away from the low end. The combination of an equal length header and free flowing intake/exhaust with a Dom 1.5 gives you something that feels similar to stock around 3-3.5K except it keeps building power all the way to redline. The 10cm turbine housing I opted for might be a little oversized for the stock heads/cams so the 8cm housing might have been a better choice for me. A 20g would also probably be a good option. That being said, I don't regret getting the Dom 1.5 10cm.
Catback
I wanted something relatively quiet and the GrimmSpeed resonated catback is marketed as basically that. The quality is great, the install was easy, and it sounds pretty good when you're on it without being obnoxiously loud. Don't get me wrong, it is definitely still loud especially with the rest of my parts but not like an ETS Extreme or whatever. The mufflers are pretty large but they're a straight-through design so you have all the flow.
There is some drone in my setup around 2500-3000rpm. It's not unbearable but it's definitely present and passengers will notice it. I suspect this is partially due to using the polyurethane hangers that it came with since all that noise/vibration is being transmitted more easily into the trunk area now. In the future I'm going to try swapping the poly hangers out with the stock rubber ones/play with sound deadening to see if that reduces some of the drone.
Anyway, my verdict is if you're mainly the only one in your car the GrimmSpeed resonated catback isn't too bad and sounds good at WOT. I wish it was a little bit quieter overall but I'm fine with it given all the other parts that I have. If you're frequently driving non-car people around I would look for a quieter option. If you're looking for something that's "like stock but a little louder" that's probably only going to be true if you have a stock header/downpipe.
I installed an HKS Super Turbo W-Tail catback and it is a night and day difference compared to the GrimmSpeed resonated catback. It's much quieter and doesn't drone around 2500-3000rpm. I tried to convince myself the GrimmSpeed one wasn't that bad at first because it sounded great otherwise but the more I drove it the more I started to hate the drone and the copium wore off. Anyway, would highly recommend this HKS catback if you can find it on sale since it's pricey otherwise.
The only thing to really note on it is that while it's advertised as a 3" catback it actually necks down to 2.5" right at the downpipe flange and uses a donut gasket like the OEM exhaust. I got an adapter for it and it seems fine so far. Still making the same boost and not sure if I notice much on the butt dyno. In the future I may see if I can modify it to a 2-bolt 3" flange so I have a full 3" TBE again. I'm just happy there's no more drone at the moment.
Oil Pan
I plan on autocrossing this car and beating on it a little more so between that and running increased power I figured going with the Killer B oil pan package would be a good idea. Increased oil capacity and improved baffling and such should be useful when running the car hard.
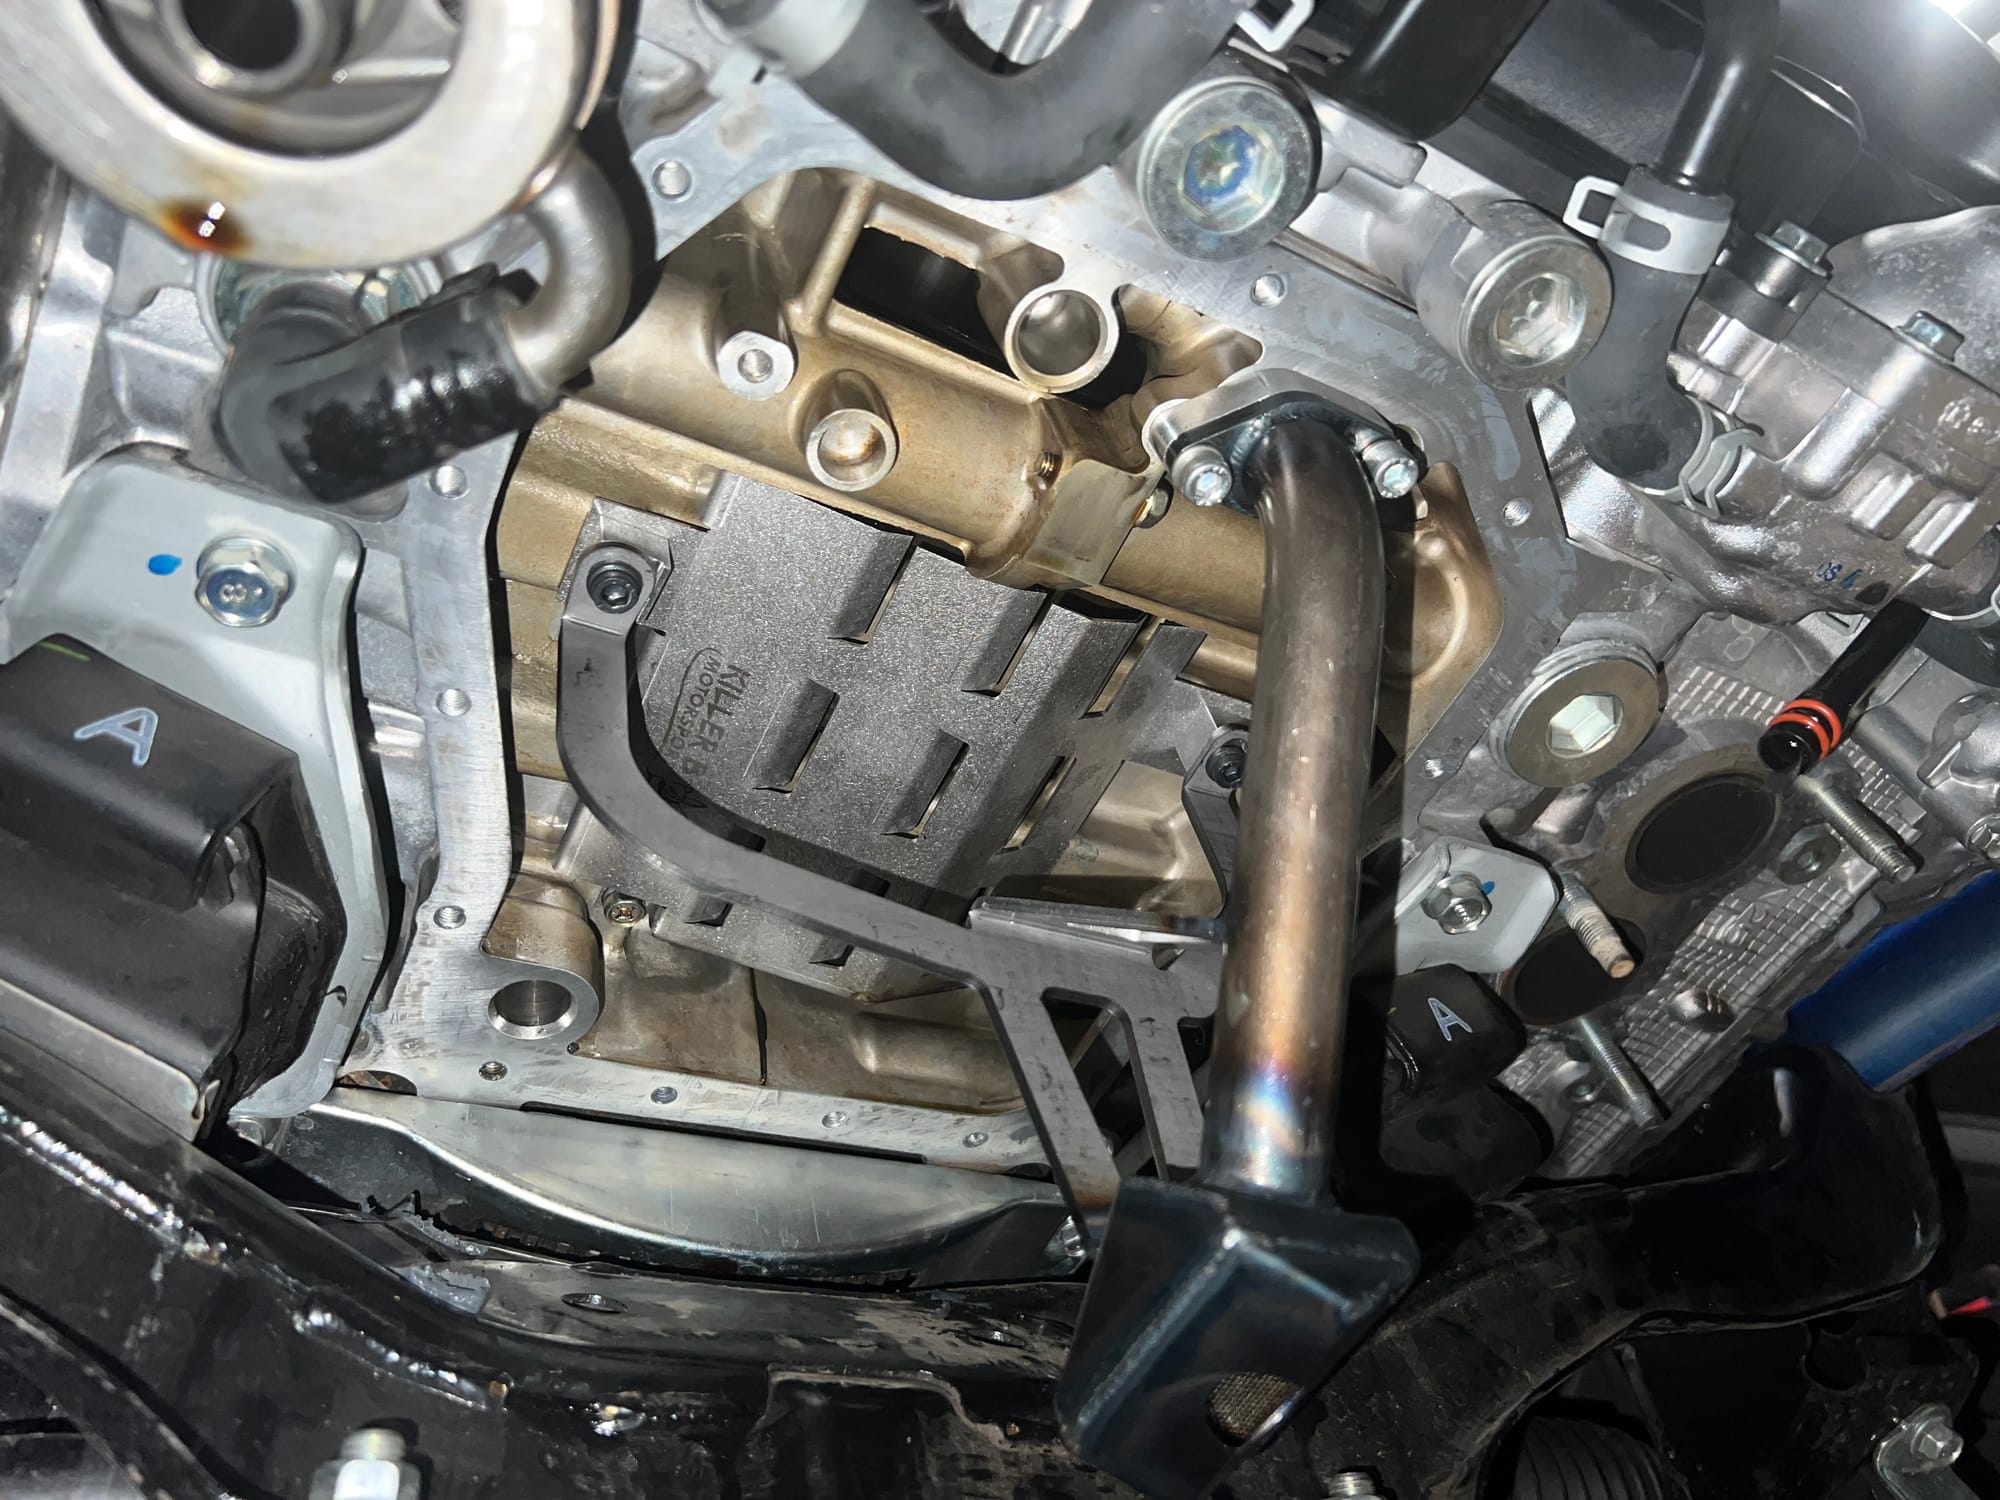
A windage tray for ants.
Stock Shortblock
From all that I've heard and read, it seems that running 350-400whp while keeping torque below 400ft-lb seems to be fairly safe for a stock block. There are rumors of the 2019+ STI blocks being able to take more power given that they've been revised with blah blah blah but I don't know how much of that is true. Maybe that gives me a bit of extra headroom, maybe it doesn't.
Josh Bader claims to have had many customers running something like 500-600whp on stock shortblocks, some with over 30-40K tuned miles. My theory is that a proper tune with proper parts at a sane power level should last a good while provided that you maintain it and don't beat the absolute shit out of it 24/7. Time will tell but regardless I have money set aside for when The Bad™ happens.
After a year or so it has survived mountain runs and ~70 autox runs so we'll see what 2025 brings with more autox and some track days.
Installation
Some things to consider if you plan on doing these things yourself. Written from the perspective of someone who doesn't know what the hell they're doing (me).
Injectors
When people say this sucks, it's because it does suck. It is doable by yourself but if it's your first time you are probably going to be extremely annoyed and then at the end you'll be like "wow yeah that does suck." YouTube videos make it look easy. Swapping the injectors is pretty straightforward, it's getting to them that is the difficult part.
Turbo
Had to learn the hard way that a stock location turbo, while it does fit in the stock location, doesn't mean stock fitment. Things aren't just going to bolt in and fit just as they did before. The Blouch 1.5XT-R is a good bit larger than the stock turbo and this can create some fitment issues depending on what other parts you have. Installation is mostly straight-forward but you are likely going to run into a few issues:
-
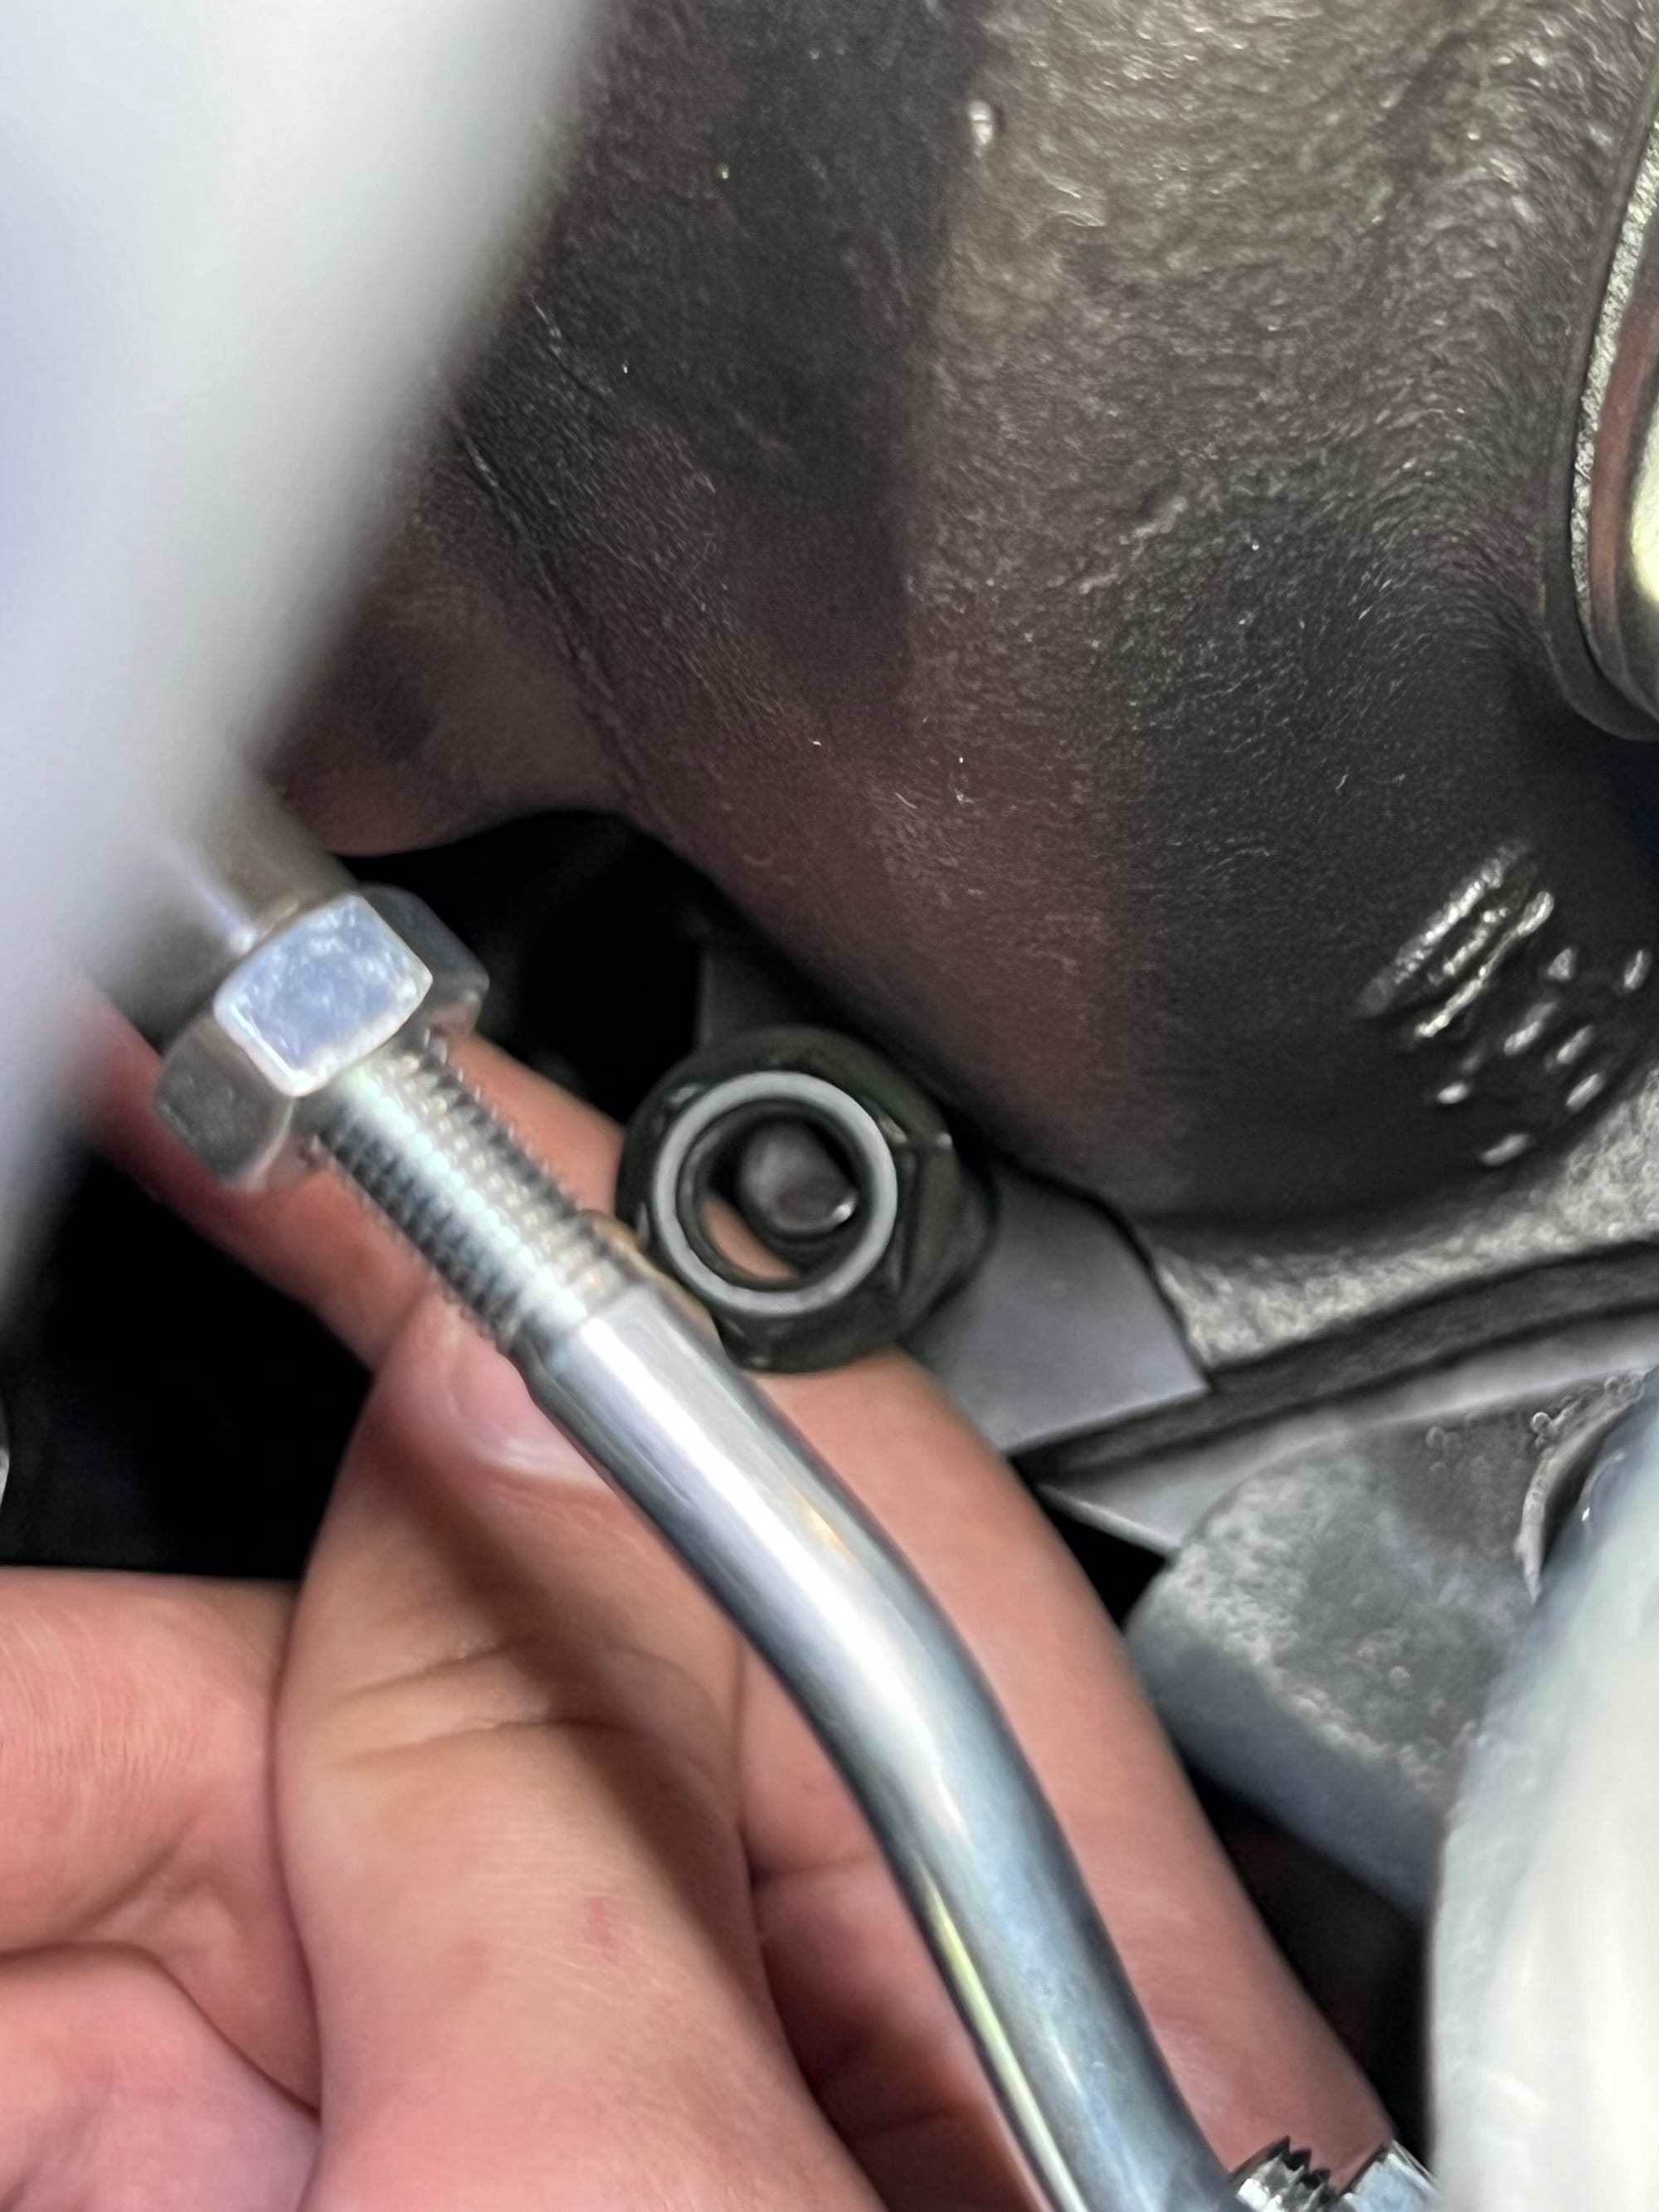
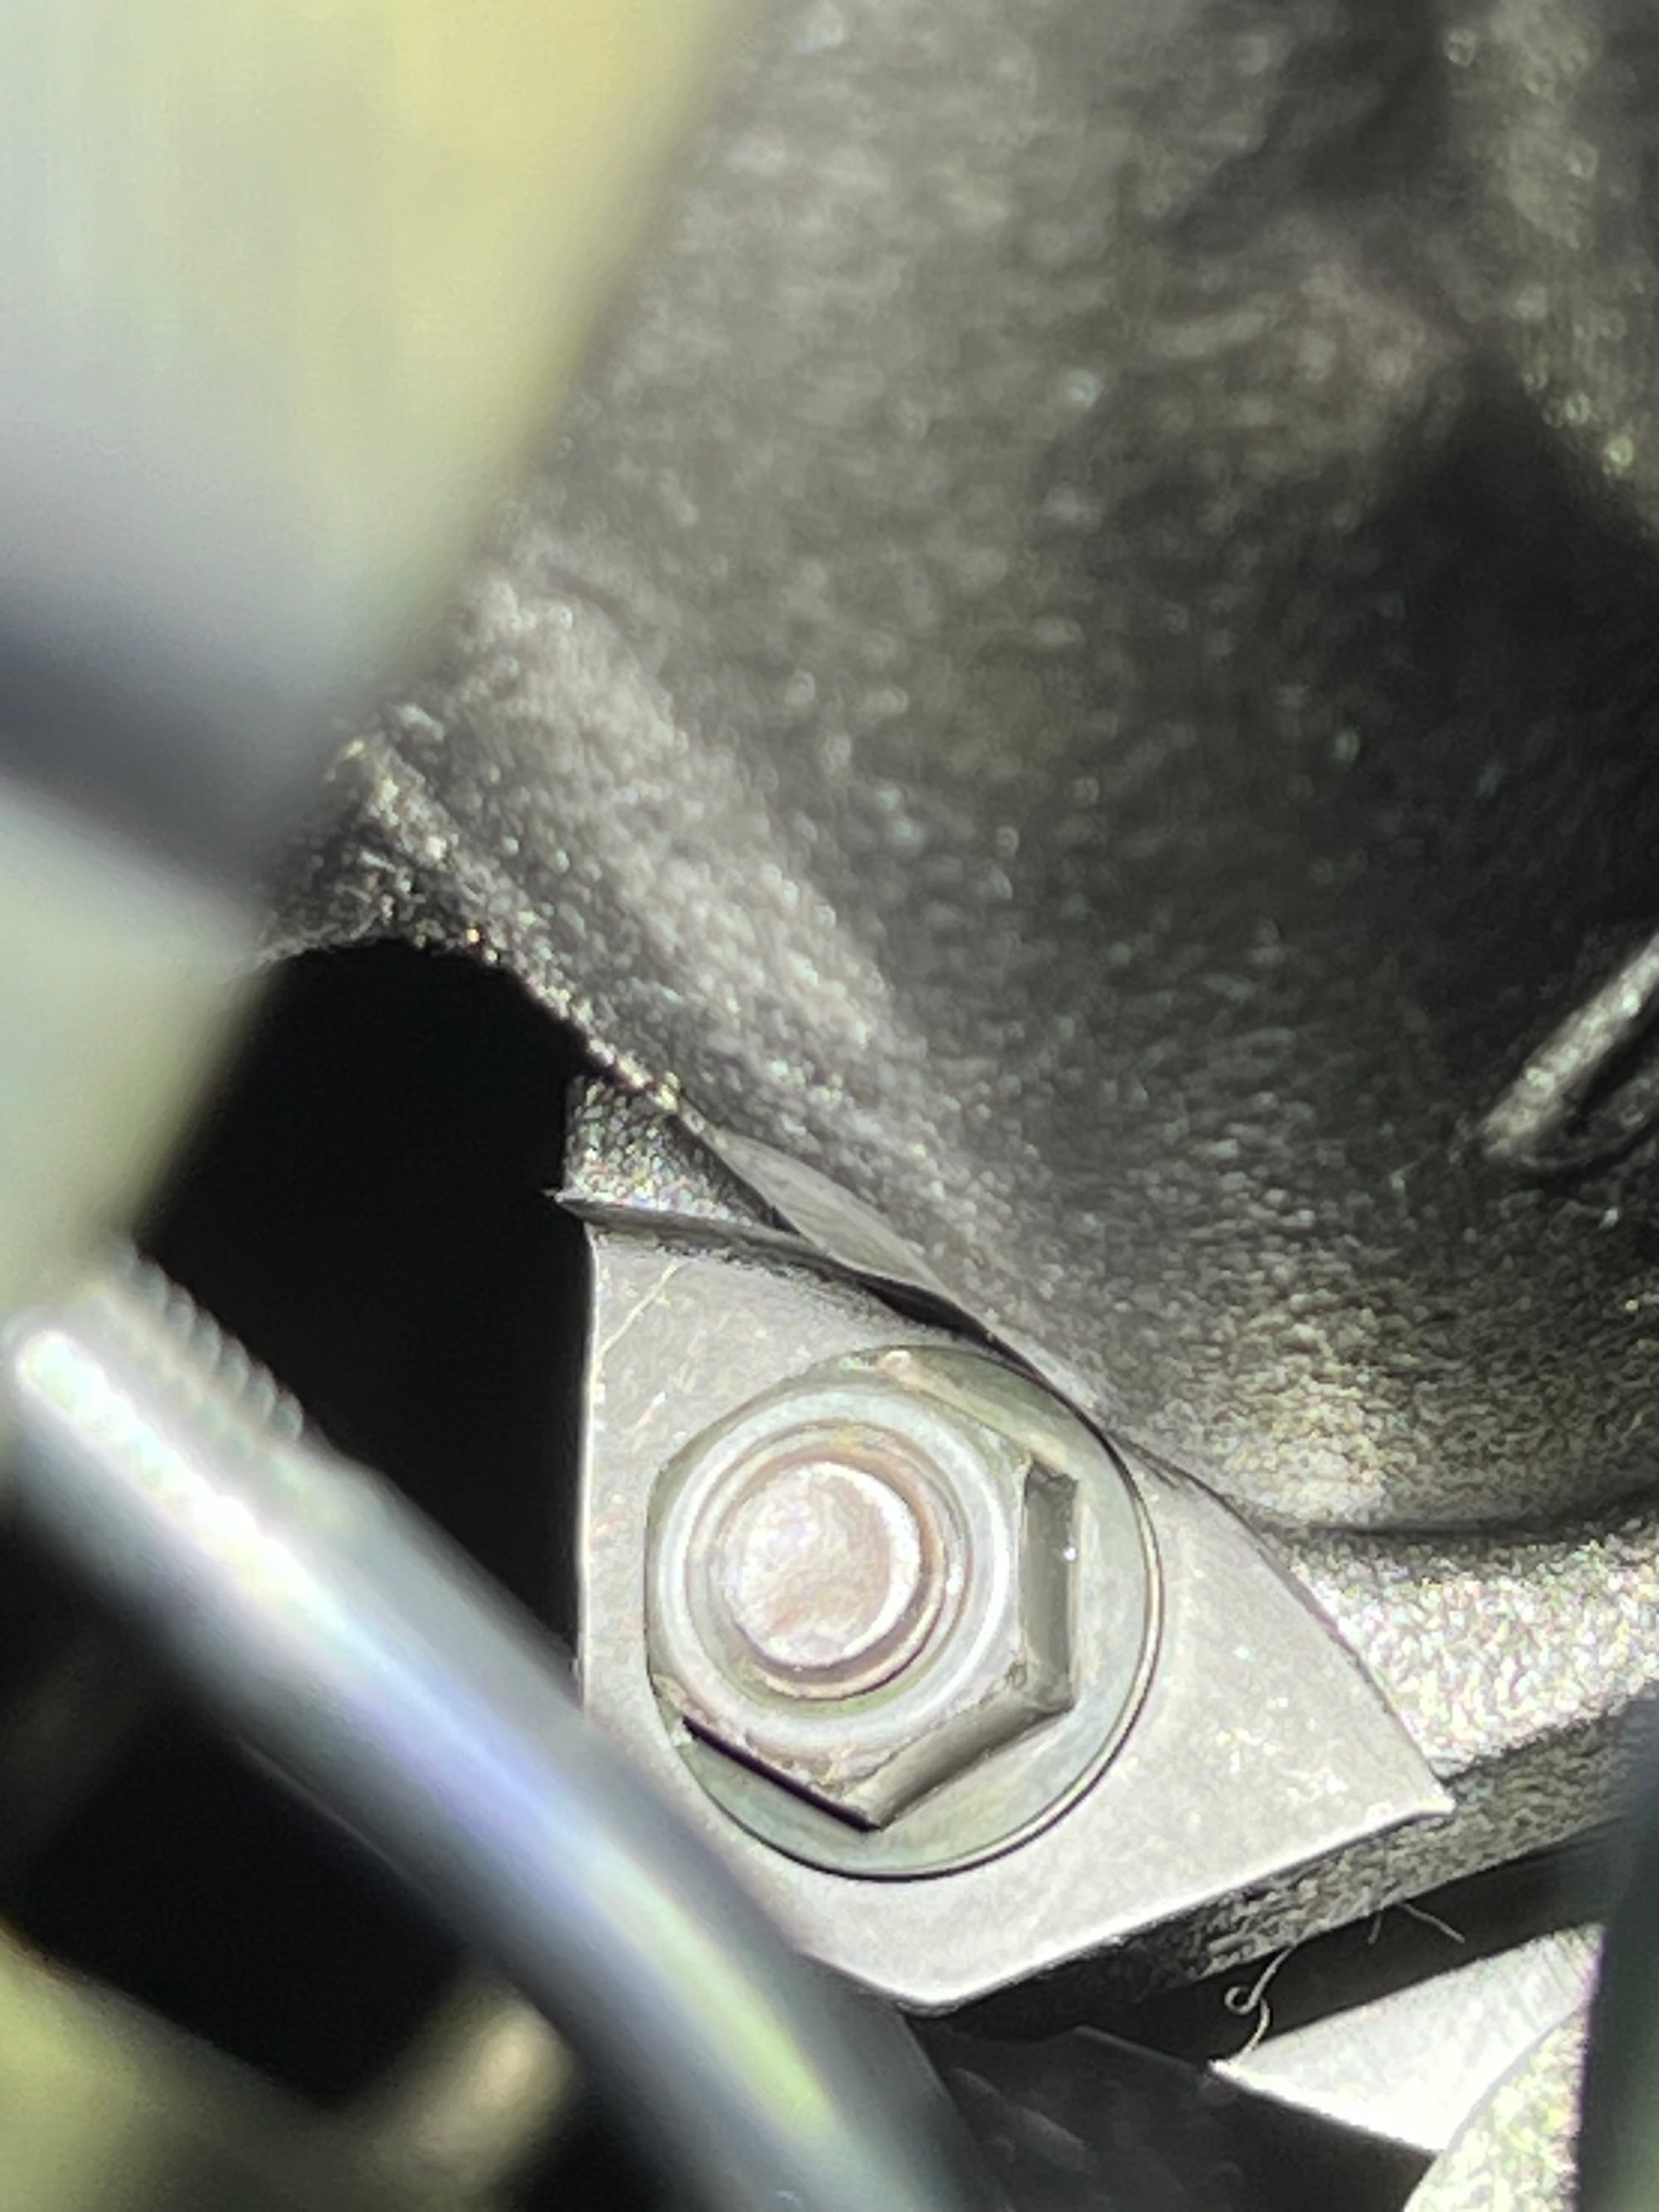
With this turbo you will probably need to grind down the turbine housing a bit in order to get it to clear the flange nut for the uppipe stud closest to the wheel well. I used a dremel with a drum sander and it turned out pretty okay.
-
-
You will also need a reducer for the wastegate actuator nipple. If I ever remember the sizes I'll update this. For now I was able to find something that worked for me at AutoZone.
-
The stock intake elbow pipe will be too short so you will need to get a new 2" silicon elbow pipe and cut it to length. The stock one seems like it'll fit but it ends up being slightly too short when trying to get it onto the turbo.
-
If you are using this with an IAG AOS and GrimmSpeed TMIC you will need to get a little creative with pcv hose routing. I don't remember which hose it is atm, but the one that would normally run in between the compressor housing/intercooler will get pinched and you'll need to route it a different way.
-
I wasn't able to install the turbo heatshield bracket (so no heatshield atm) because of the increased flange thickness between the turbo and downpipe. I need to find slightly longer bolts for that. For now I have just a turbo blanket.
-
When paired with a GrimmSpeed TMIC without the extra shroud they sell (and combined with the above bullet point) there will be a small gap on the passenger side of the intercooler in the hood scoop that will let water fall onto the turbine housing and uppipe studs, which will rust easily. I ended up installing the shroud to alleviate some of this and for better flow into the TMIC but having a heatshield is pretty important to protect the housing/studs from rust IMO.
-
Not related to the turbo specifically, but if you order the Killer B uppipe studs like I did you'll find out that they're too long. Flip the studs near the turbo flange otherwise your downpipe isn't going to clear them.
Oil Pan
This also was not fun mainly due to the 4 rear bolts being in a very difficult spot. You need to jack the engine up off the mounts an inch or two to even be able to get to them. After that good luck don't lose your fingers. If you thought they were a pain to get to with the stock oil pan just wait until you put a larger one on. Also be careful installing the dipstick tube into the oil pan and do it slowly. Make sure the o-rings are lubricated. If those o-rings tear it's going to be a bit of a pain to fix it later on. Of all the parts in this installation, this is probably the one I'd recommend having a shop that knows what they're doing install for you. But if you're stubborn like me you can do it.
COBB Turbo Inlet
Requires a lot of finagling to install, give yourself a couple/few hours. Don't need to pull the manifold for this.
AOS
The IAG V3 AOS looks daunting to install and initially seemed difficult, especially looking at the 100+ steps in the guide. It's actually not that bad as long as you have a set of your own constant tension hose clamps. The IAG supplied clamps are mostly fine but are sometimes a pain to deal with unless you have their special pliers. There are however a couple of supplied ring clamps for the block breather hose that were extremely difficult/infuriating to install. I tossed those ring clamps and used my own constant tension clamps and it was pretty much smooth sailing after that. That ring clamps issue was about the only real problem I had. The rest is just disconnecting/connecting hoses and rerouting some of them.
If your STI has ring clamps from the factory on the PCV hoses you can just pull them off without cutting the hose or the clamps. It might not seem like you can, but you can.

